
5 different ways to work with watercolour
Watercolour paints are an easy and relatively mess free way to get the kids painting. But perhaps you are interested in some new ways to work with these paints? These techniques can help your projects come alive, providing depth, texture, and movement to your works.
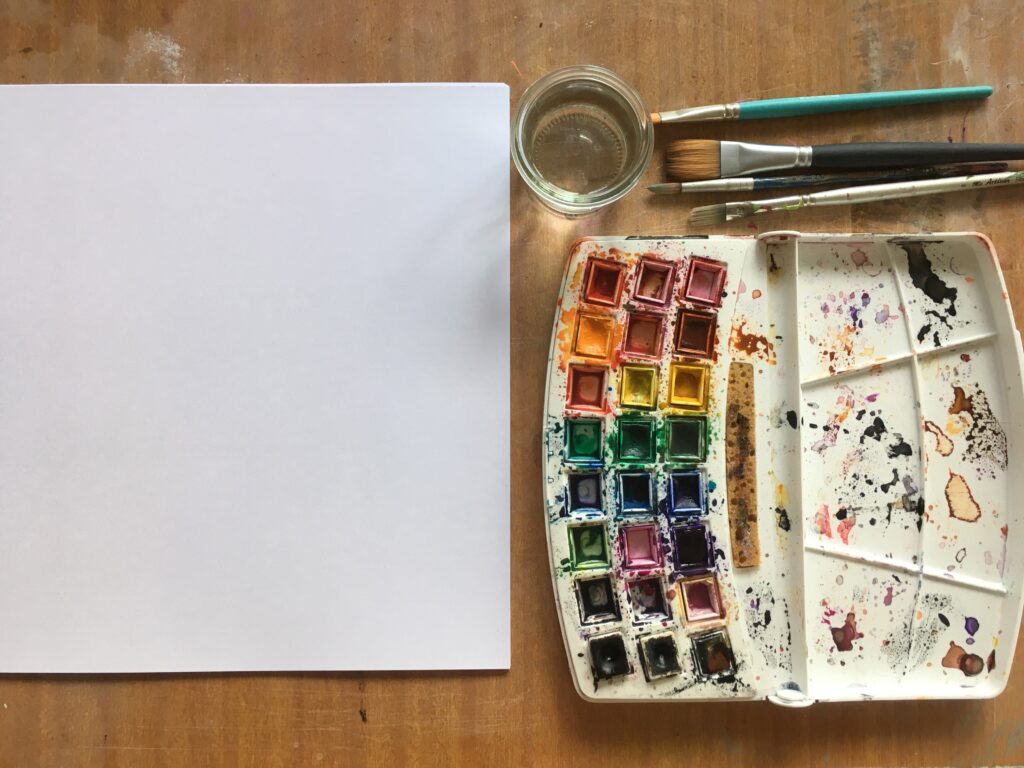
Materials are simple and economical – all you need are watercolour paints + a range of brushes + a glass of water + some paper/ card. If you want to get a bit more fancy you can work with some watercolour paper which is textured to capture the movement of the paint effectively – it is pretty expensive though.
Watercolours are super budget friendly as, unlike acrylic paints, they do tend to last a really long time, and can cope with a serious battering from multiple kids using them. Just wash them off at end of lesson and pack away for the next session. EASY!
Time to get painting!
1. Wet paper:
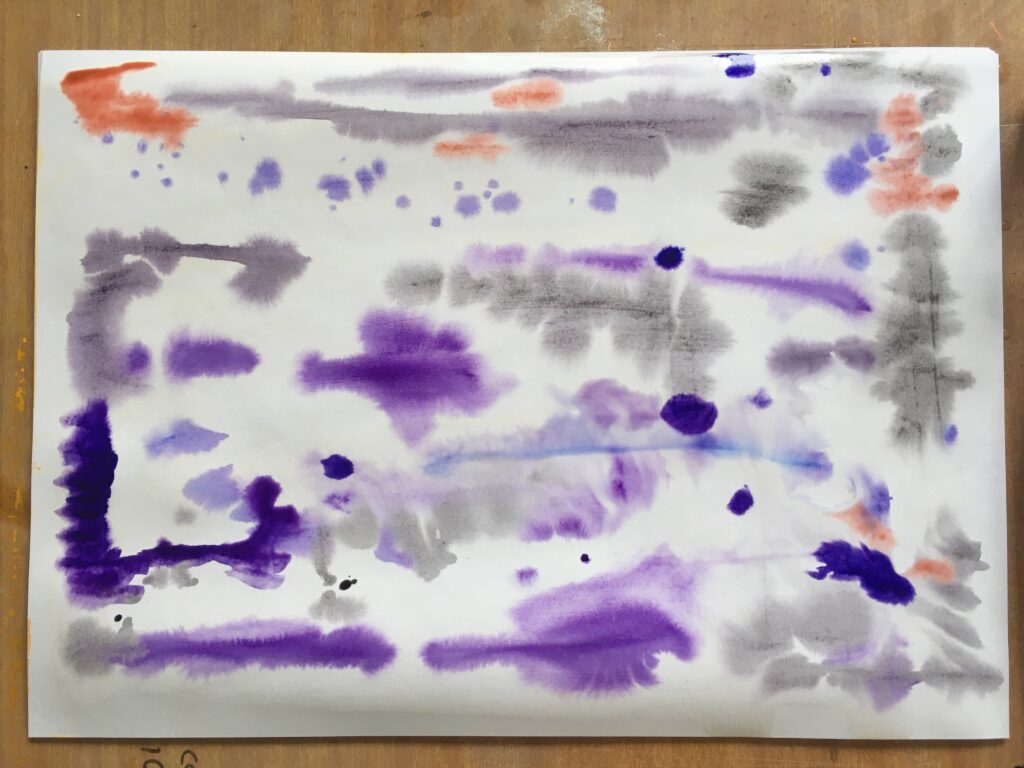
This is very effective, and surprisingly easy, though you will need to work with card not paper for this. Just wet the page generously with clean water, being gentle with the card, you don’t want to scrub holes in it. Allow it to soak in for a little while but don’t let it dry out.
Now draw into the surface and appreciate the unexpected ways the paint spreads across the damp paper surface. Add more water as you go if needed.
This effect is great for water scenes or misty landscapes.
2. Dry brush:

We often want our watercolours as wet as possible, but in this case, a dry brush can give some excellent textures. Add just the minimum amount of water to the watercolour paint, just enough to get the colour going. Then use your damp, almost dry brush to create some textures on your page. Old, damaged brushes work great for this!
This effect is especially good for creating fur, foliage, hair, feathers, or ground textures.
3. Gradients:
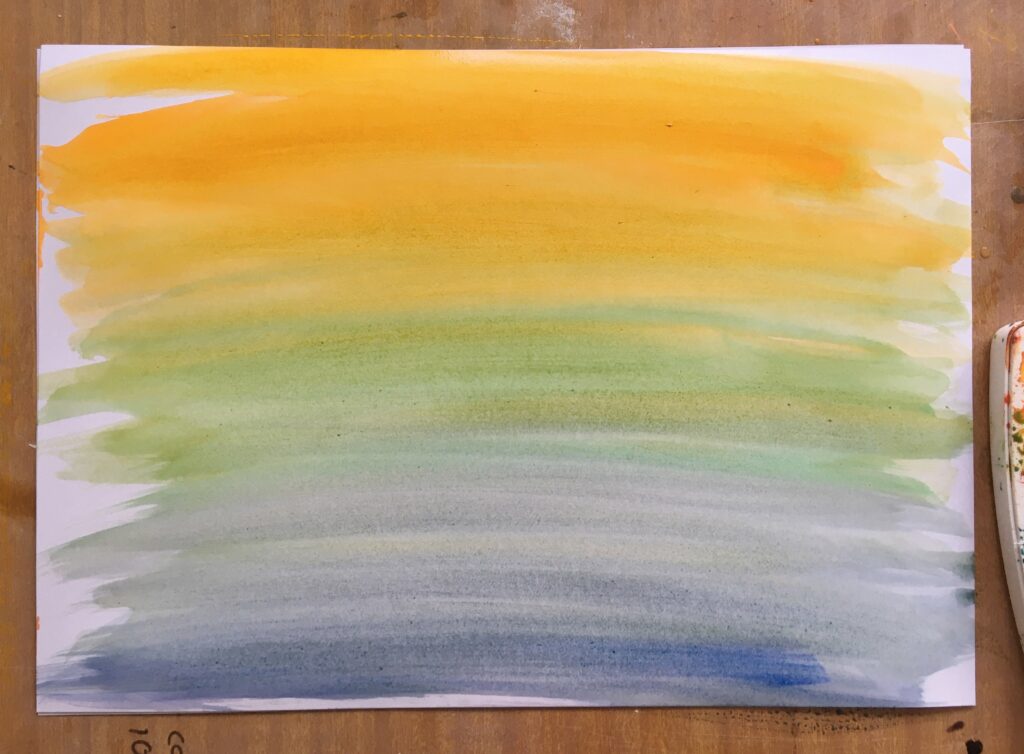
Instead of a plain white background, why not start with a gradient? It is a great way to learn how colours blend and mix new colours, but also to create atmosphere in your picture.
Start at one side and spread a very wet band of colour, then continue to add new bands of colour blending then just gently at their meeting edges. Colours next to each other on the colour wheel blend best.
This effect is great for landscapes, seascapes, and skies.
4. Splatter:

You won’t be able to stop the kids doing this one, it’s so fun. Make sure your brush is loaded up with very wet paint, and then using your finger tap the bristle end of the brush. If nothing is splattering you wither need to loosen your hold on the brush so there is some movement in it, add more water to your paint, or tap harder! Don’t do the one-handed paintbrush whip, it inevitably ends up splattering paint on your face as well as your page.
This effect is great for spotty animals, for ground textures, for stars, or for freckles.
5. Layering:
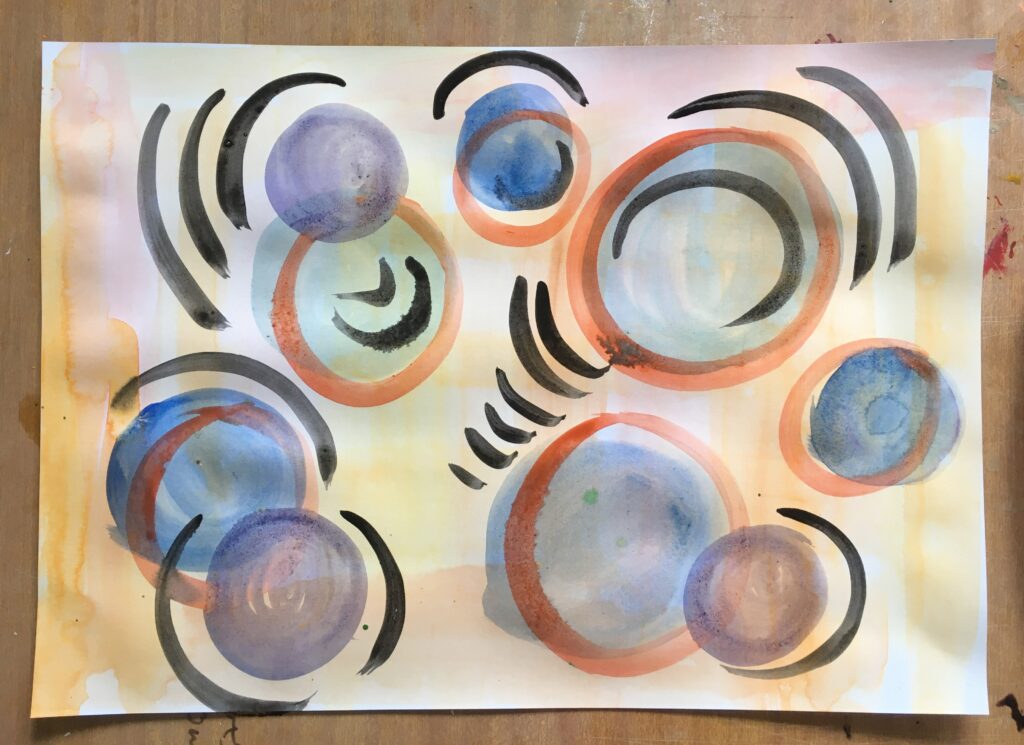
Last, but definitely not least, try to incorporate layering into your work. The bonus of watercolour paints is that they dry so quickly! So there is not excuse to not be developing multi-layered works in a short amount of time. You will find the transparency of the paint creates beautiful depth when layered. So create backgrounds, on top of that solid areas of colour, then gradually build up finer and finer details.
Another wonderful thing about watercolours, is that kids really do wind down and relax when they work with them (while acrylics tend to get kids wound up!!). They are a great medium to pull out on those days when the kids need a bit of meditative relaxing.
We hope you get a chance to dust off the old palettes and get exploring this week.
Until next week,
Tracy x