Push pin projects x 4
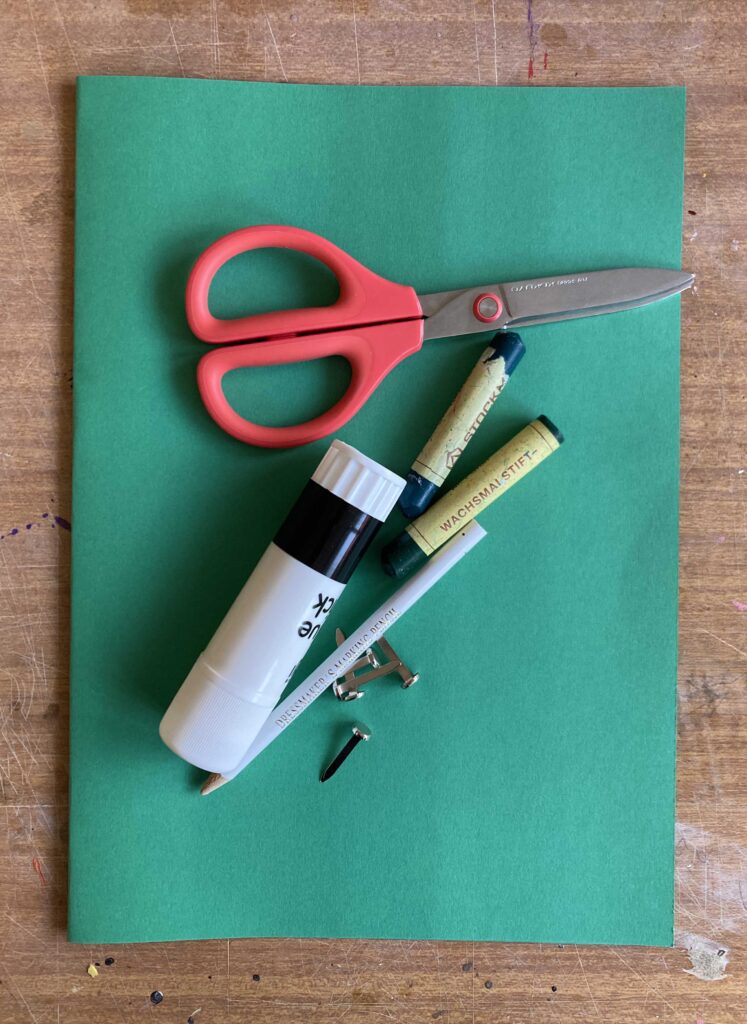
This week I have FOUR easy and fun projects that make use of push pins. Maybe you have a draw full of abandoned push pins, or perhaps you are just looking for a way to make some cheap kinetic artworks? The following projects are suitable for most ages and will get you thinking about moving parts. All you will need is some assorted paper/ card/ scissors/ glue, and……….push pins!! You can find these at officeworks, or your local newsagency. Lets get moving!
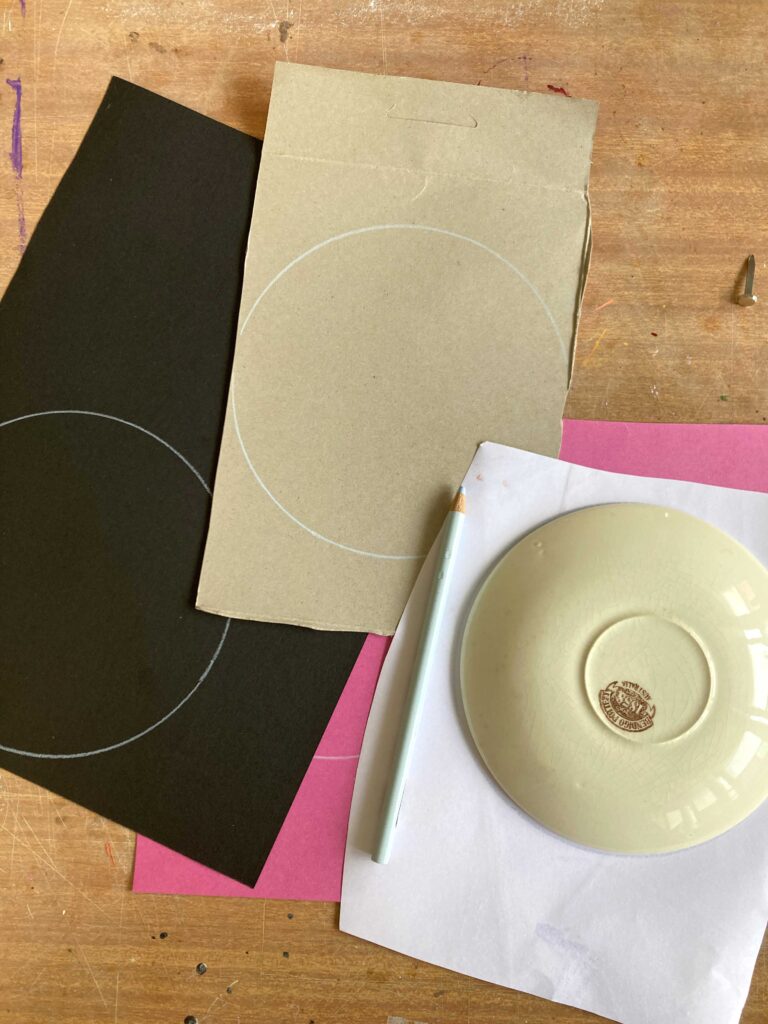
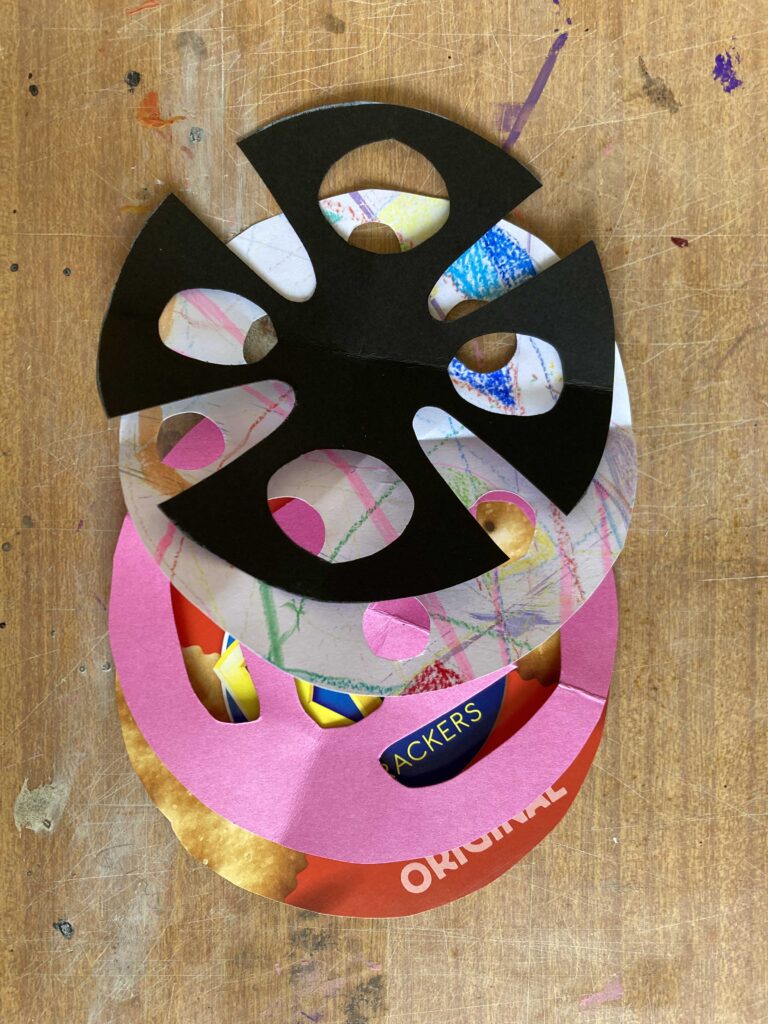
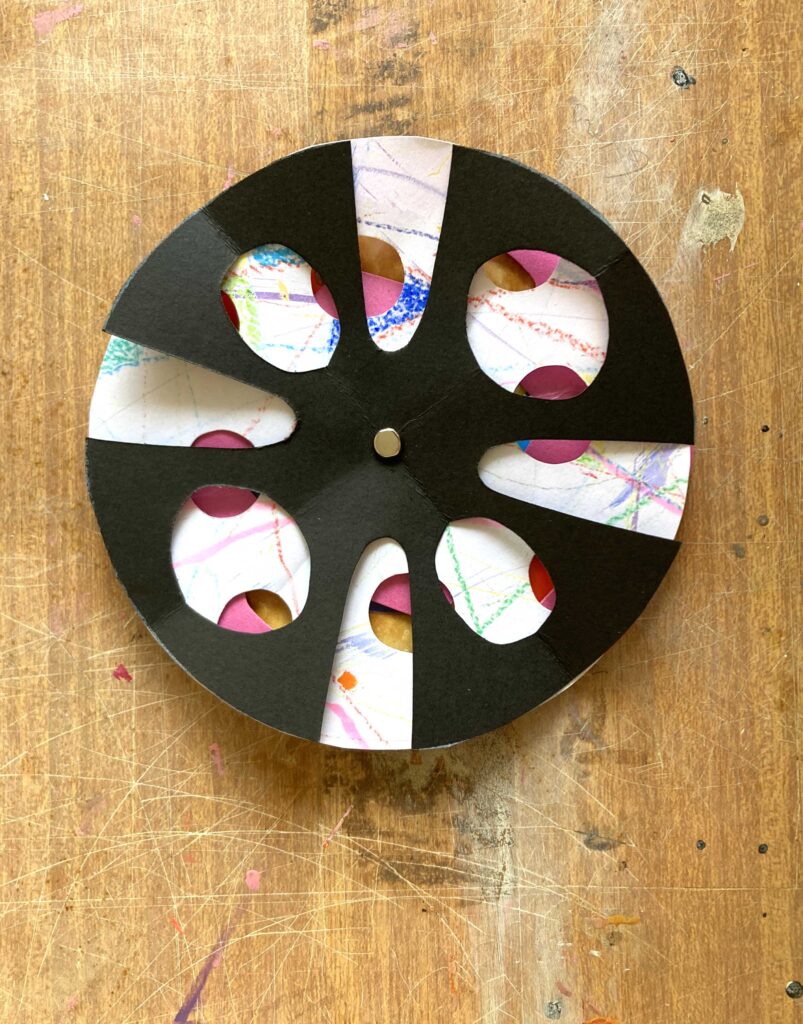
Kaleidoscope
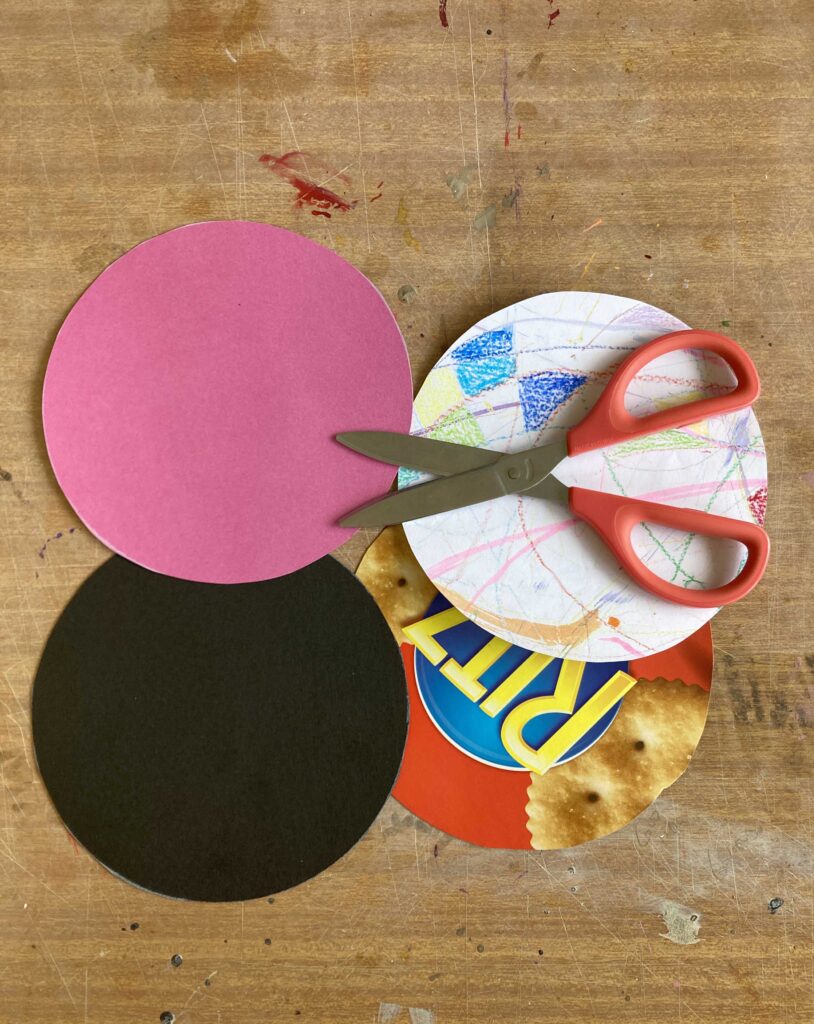
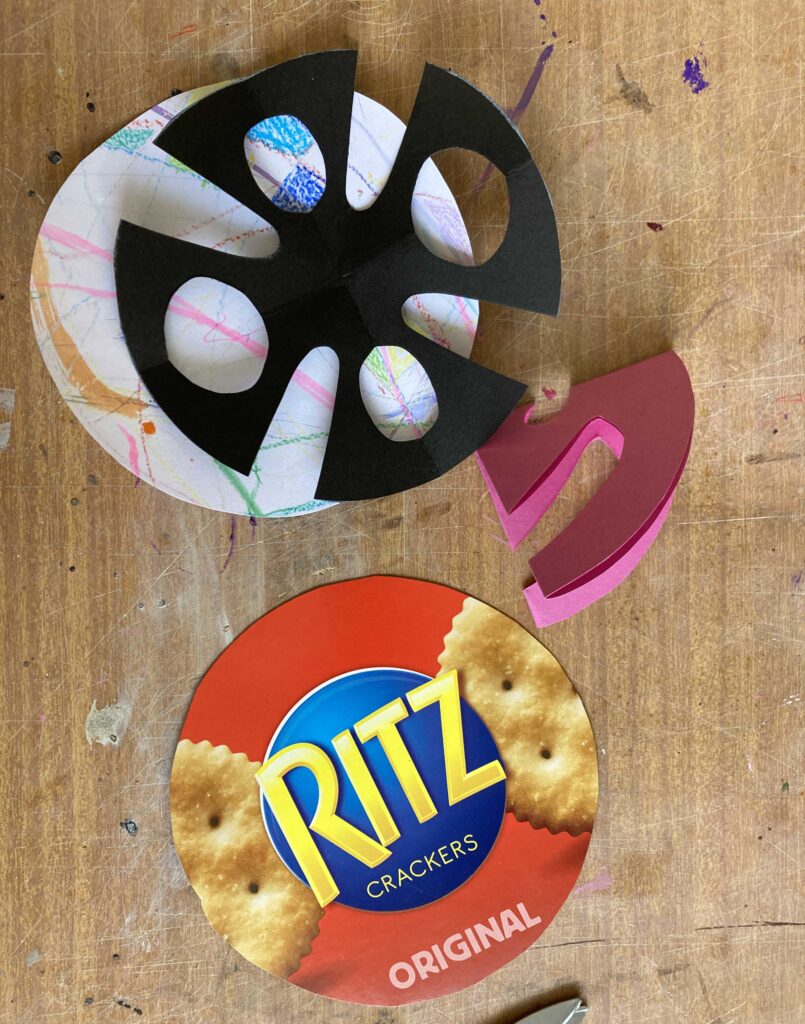
Here is a colourful project inspired by the moving parts of a kaleidoscope. Find at least four pieces of paper or card around A5 size, recycled packaging works really well. Trace around something round on each, like a saucer. Cut the circles out, and then with all but one, use the snowflake cutting technique to create symmetrical holes in the disks. Layer them on top of one another, using the most see through one on top and keeping one uncut for the bottom. Pierce the pushpin through the centre of each and split underneath. Twist the layers for a colourful kaleidoscope effect which is always changing.
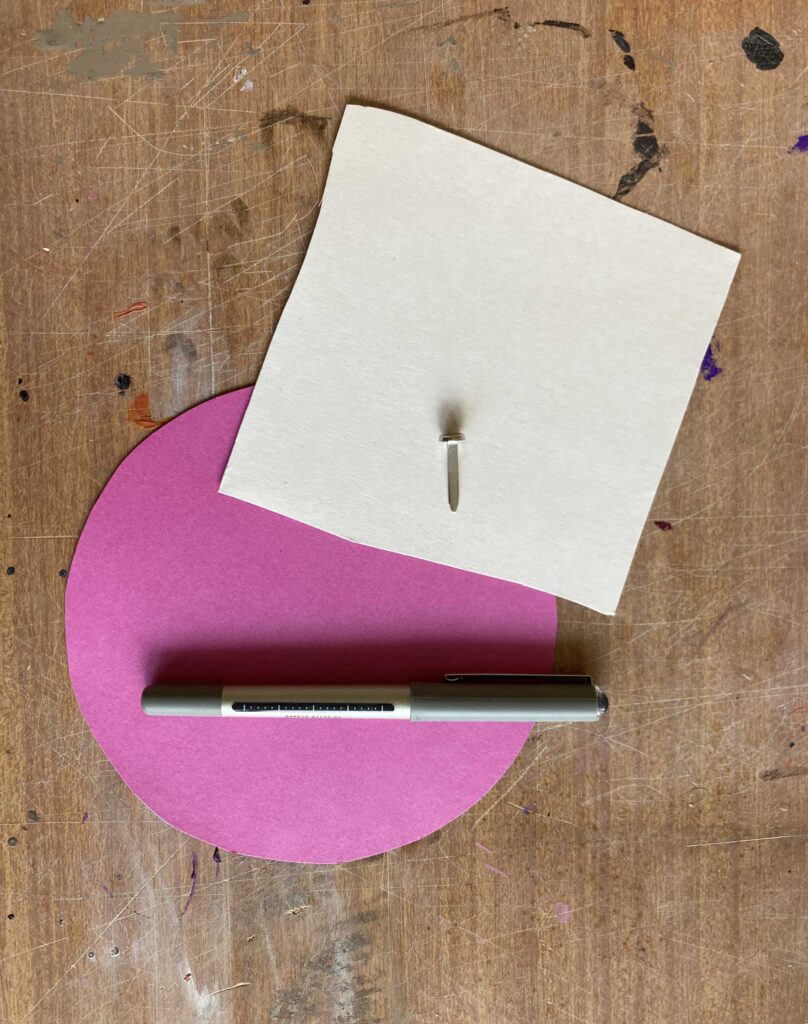
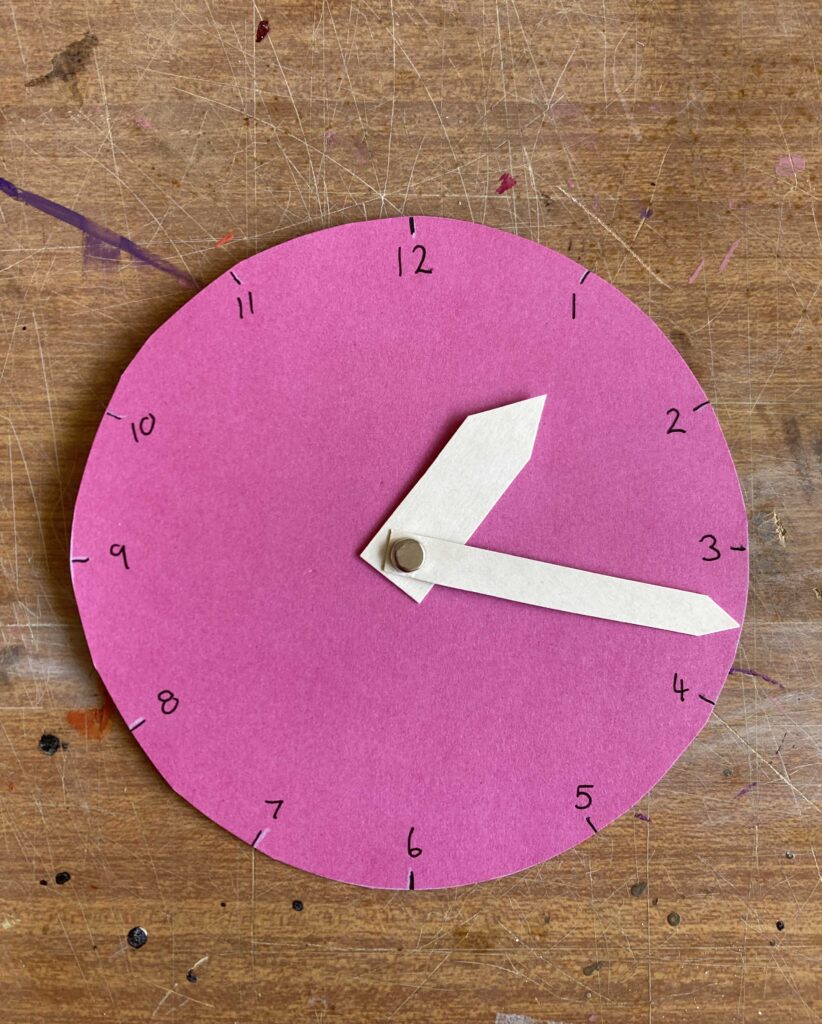
Clock
Make your own clock to practice telling the time!
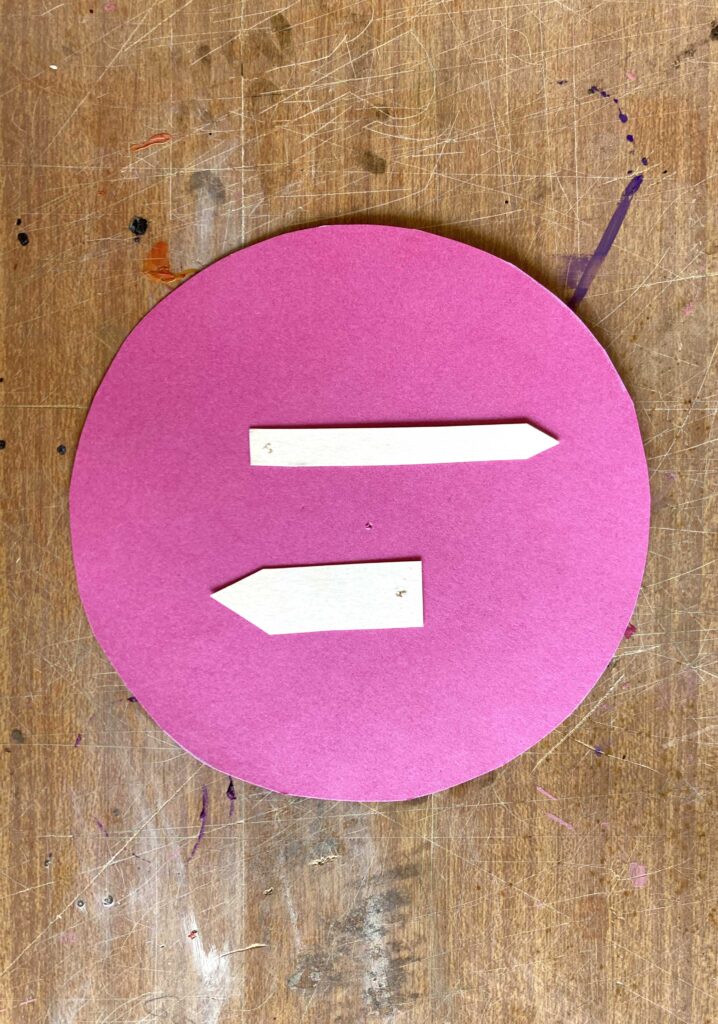
Trace around something circular on a piece of card at least A5 size. Cut it out, and use the scraps, or a new piece of card, to create two rectangular hands, one smaller than the other. Pierce the pushpin through the ends of the clock hands and the centre of the circle, then split underneath. Draw the clock numbers on with a pen, and cut the hands into a point at the ends.
Turtle puppet
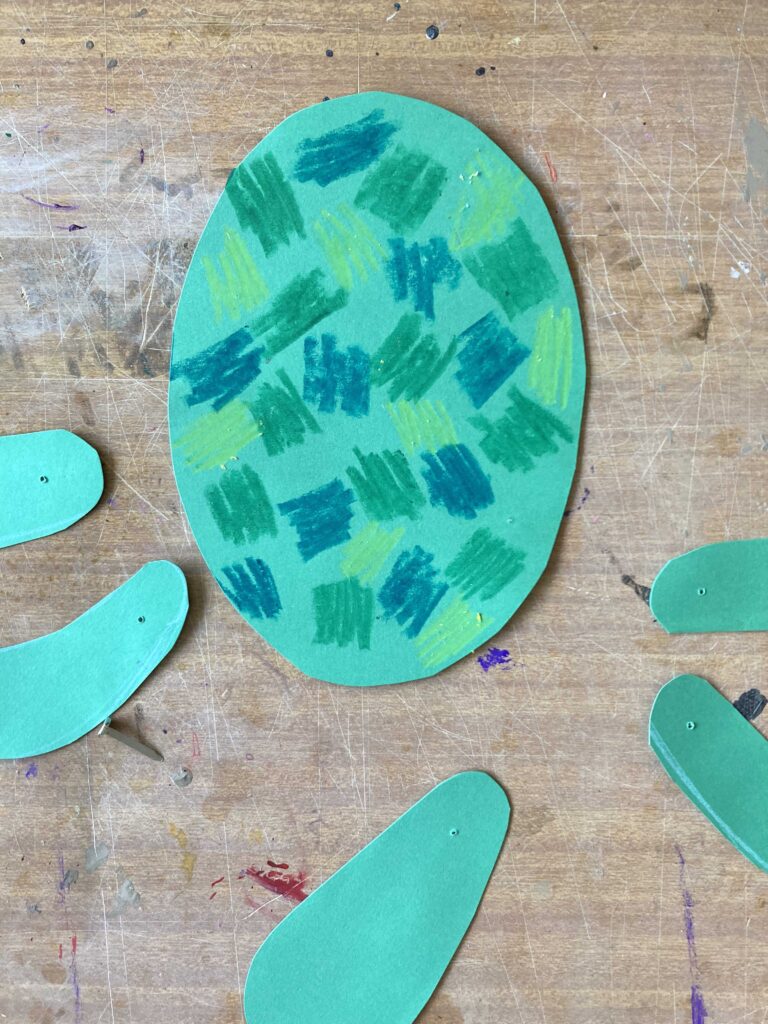
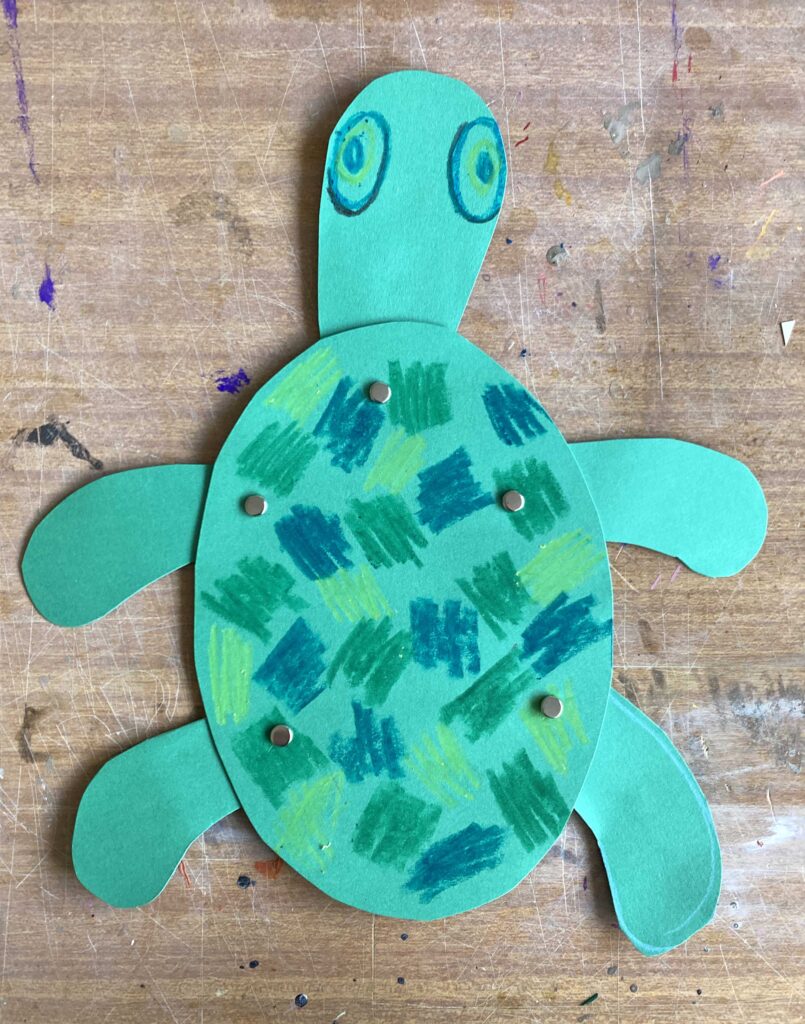
Push pins lend themselves really well to making moving puppets. I have created a turtle which can tuck its head and flippers under its body.
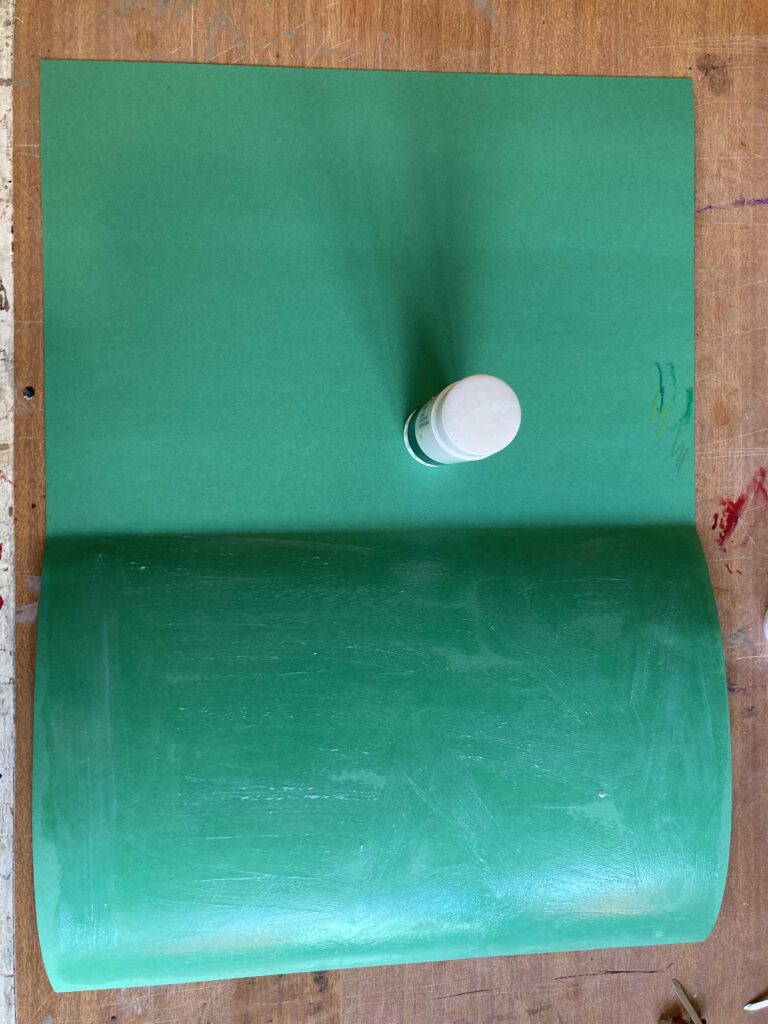
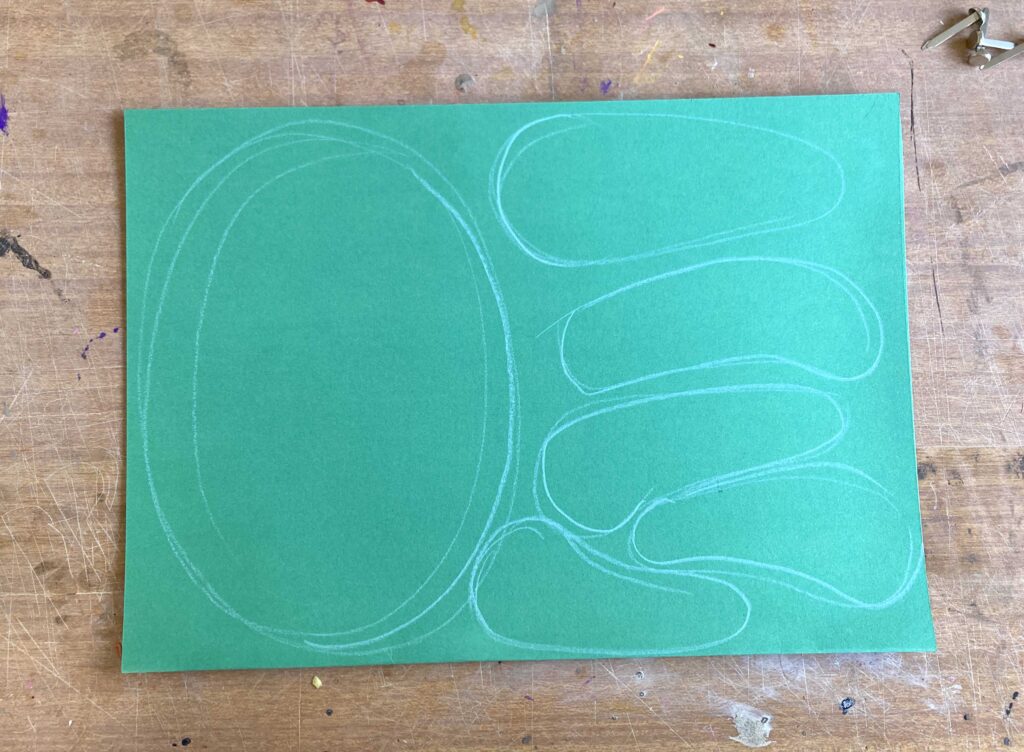
Get one piece of A3 green card, fold in half, and then glue sandwiched together to make it extra strong. Draw an oval shell, head, and four flippers on the card with lead pencil. Cut the pieces out, and arrange on the table like a turtle. Take a moment to decorate the shell and add a face if you like, maybe with crayons like me? Now push pin together the head and flippers onto the body.
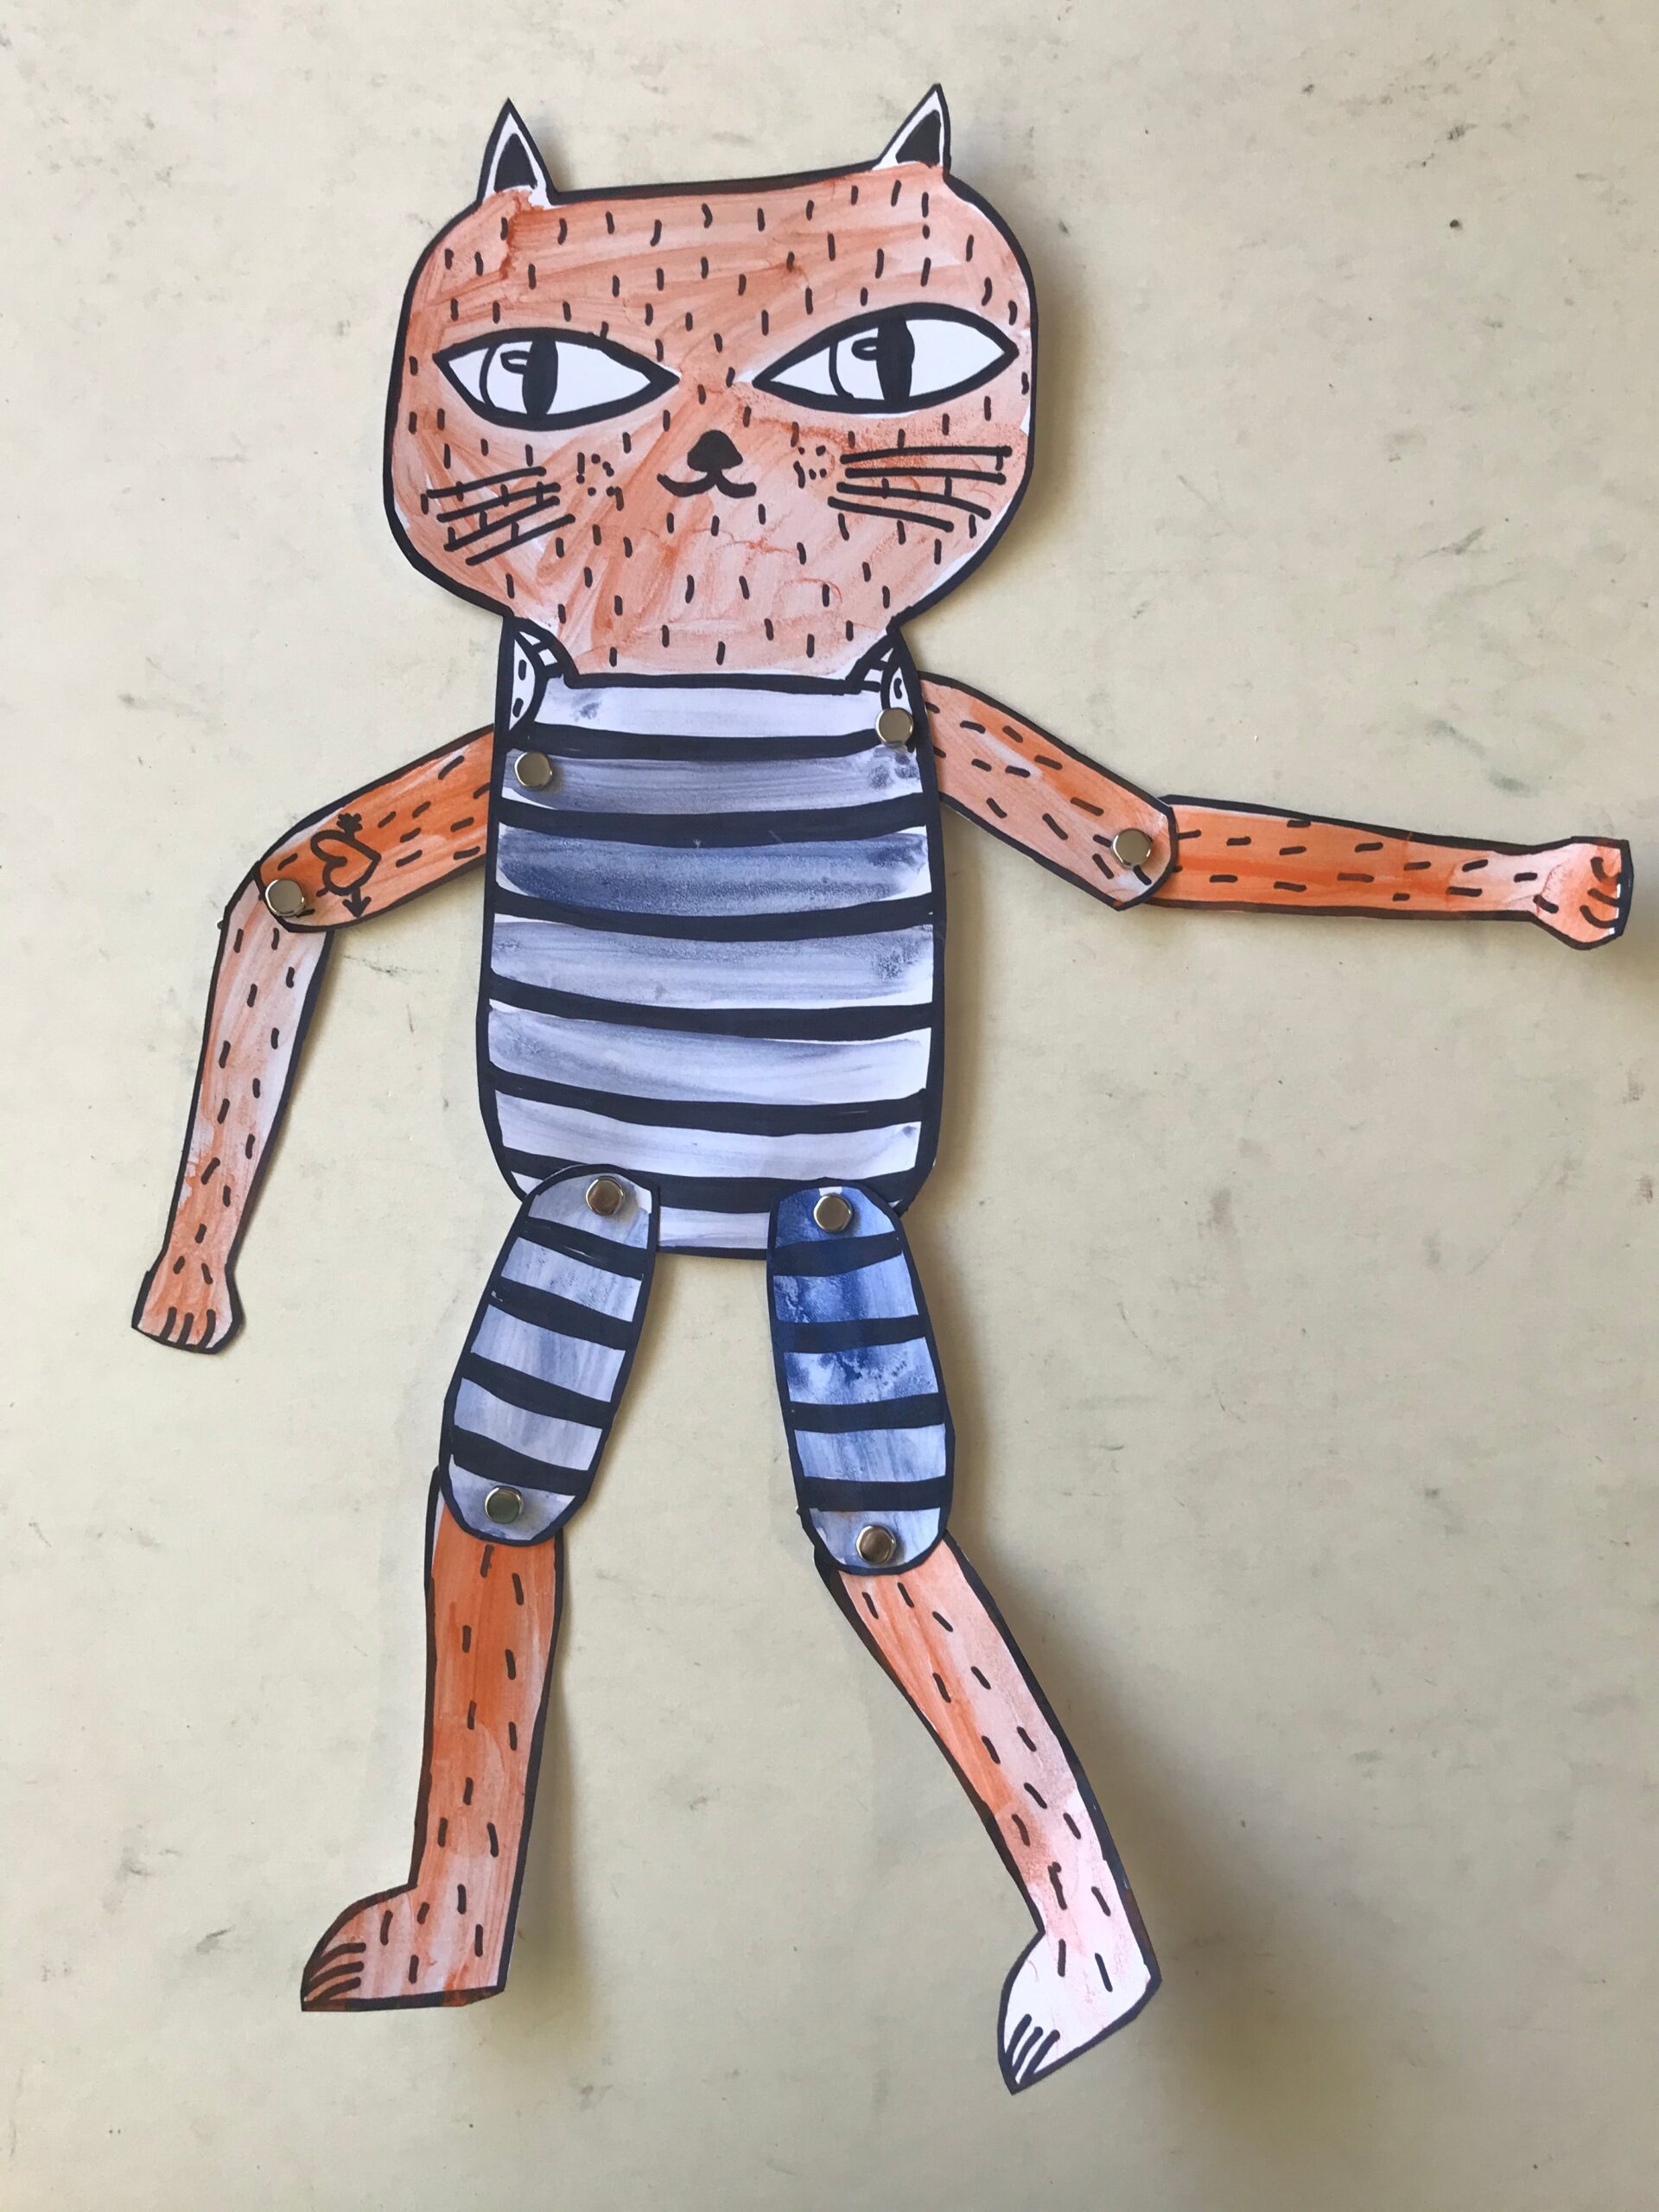
Illustrative Figures
This idea involves creating an illustrative figure – consider all of the main body parts – head/ body/ arms/ legs. Working with cardboard draw up each of your body parts, cut out neatly, and create some detail with black markers. Colour with watercolours, or felt pens, or leave black and white. Think about all the litte details – shoelaces, sock patterns, a belt, a cool Tshirt design, tattoos, hair etc etc. Once completed create the holes on all of the appendages, arrange together with the push pins. Voila – coolest little movable figure ever! A funky new way to create paper dolls.

Fun simple movable art projects suitable for all different ages. I hope these ideas will get you inspired and creating with your kids at home, or in your classroom.
Until next week,
Tracy x