
Making a stencil
I have learnt plenty of do’s and dont’s when it comes to stencils over the years. So this week I am talking about how to craft a durable stencil, and how to use it. Kids can make these, but will need assistance with some parts.
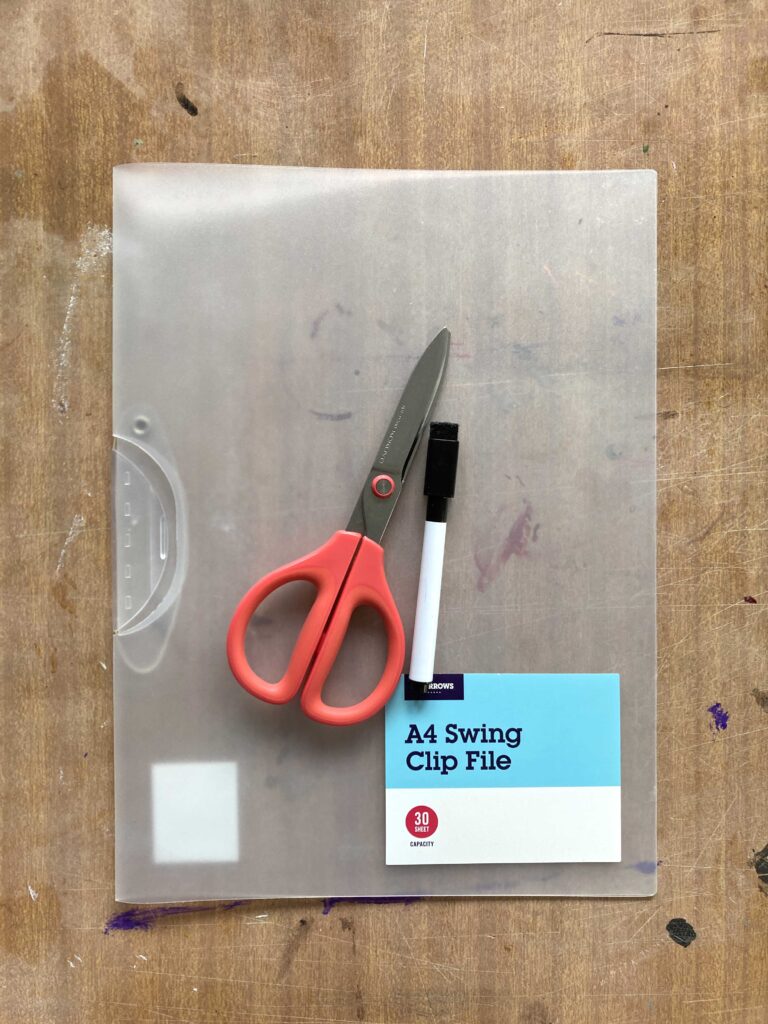
To make a stencil you need a whiteboard marker, or a dark felt tip pen, preferable not permanent, scissors and some clear plastic. The clear plastic is the thing you need to get right, too thick and it will be difficult to cut, too thin and it won’t hold it’s shape. I found the perfect plastic at Officeworks for less than $3, and I made 3 stencils out of it. It is a clear A4 clip folder which I just hacked up into the sizes I wanted.
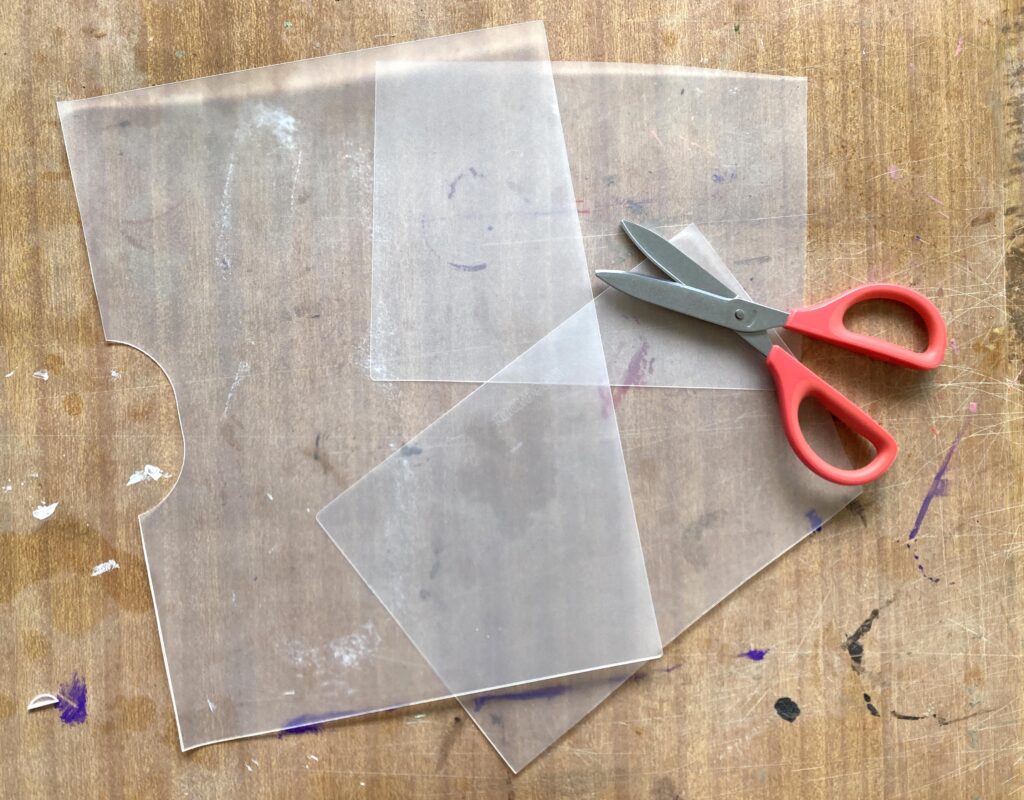
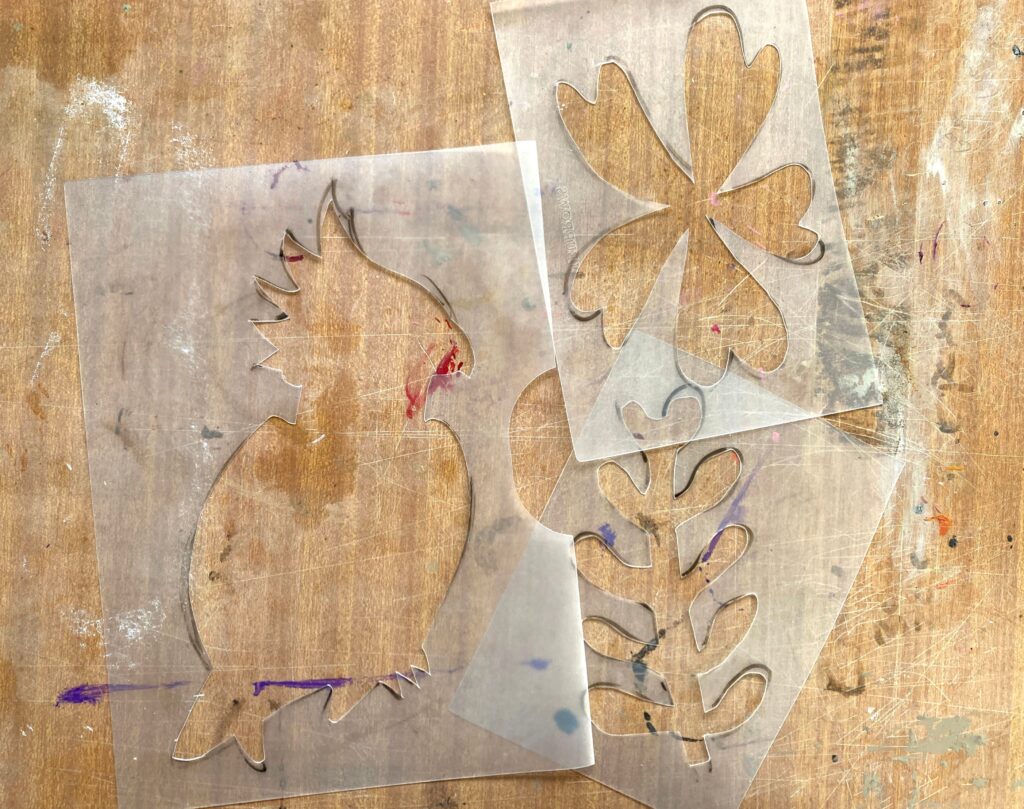
Draw your silhouette design onto your plastic, ensuring you leave a fair amount of space around the edge of it, at least 3cm between your design and the edge of the plastic. Make a hole in the middle of your shape for your scissors to get through, I did this by flattening out my scissors and just slicing into the plastic (not a kid job). Cut out the rest of your design as neatly as possible and discard the inside shape. (or – keep the inside shape and use for other art projects)
To use the stencil you will need paint, and preferably a sponge. Brushes work ok, but the bristles can make for a messy outcome, and rollers can also be used, but sometimes don’t capture those sharp edges. Dip your sponge in the paint then thin out the blobs on your sponge by squidging it a few times on your pallet. You don’t want blobs on your sponge, extra paint squishes under stencils making a mess.
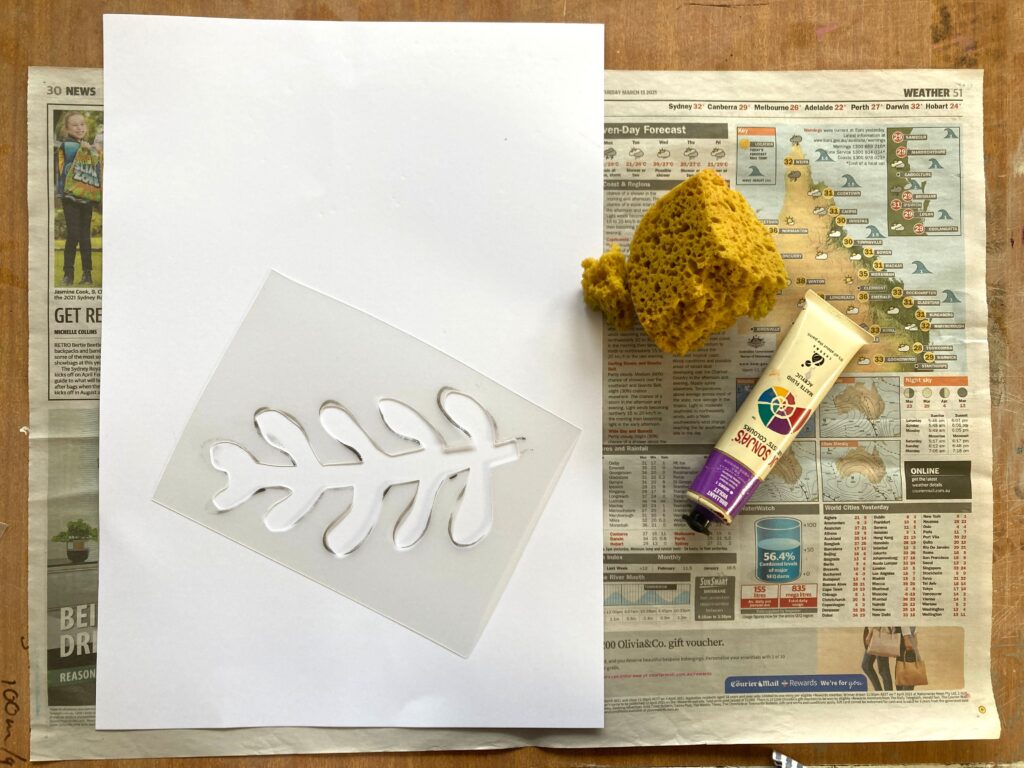
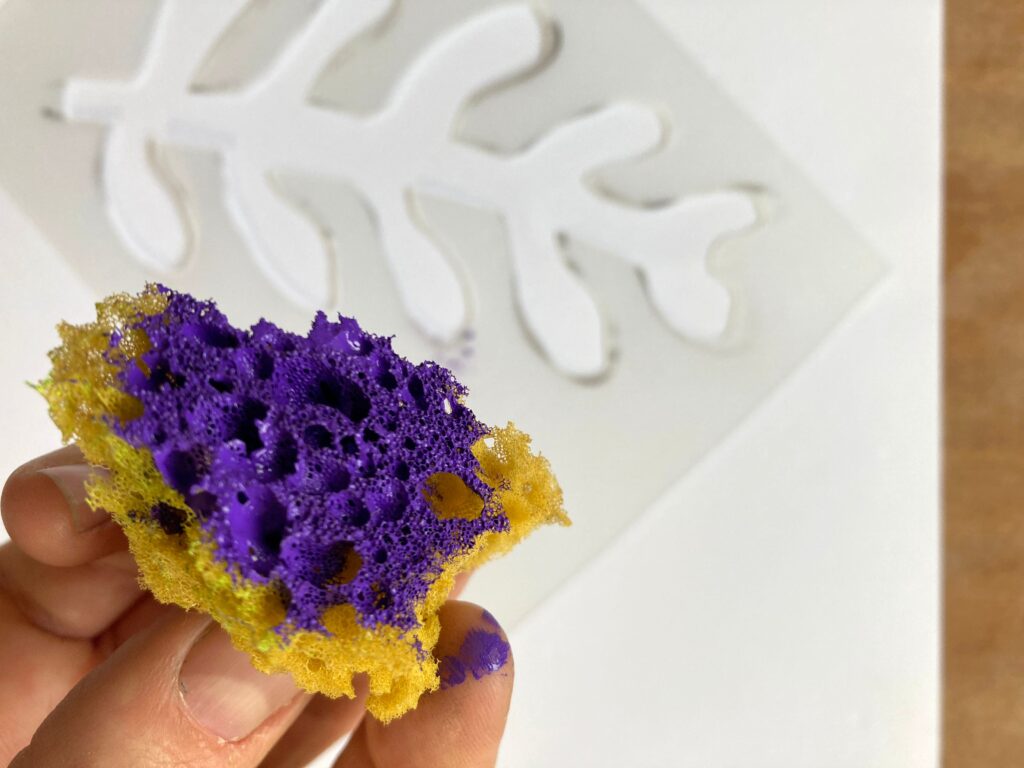
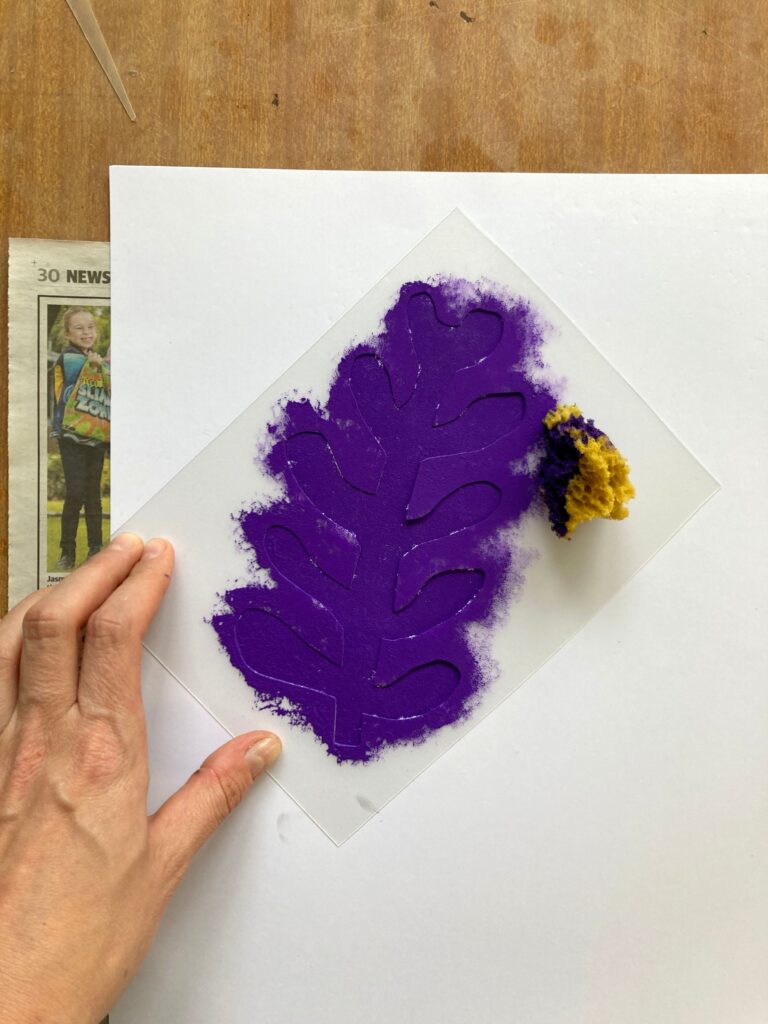
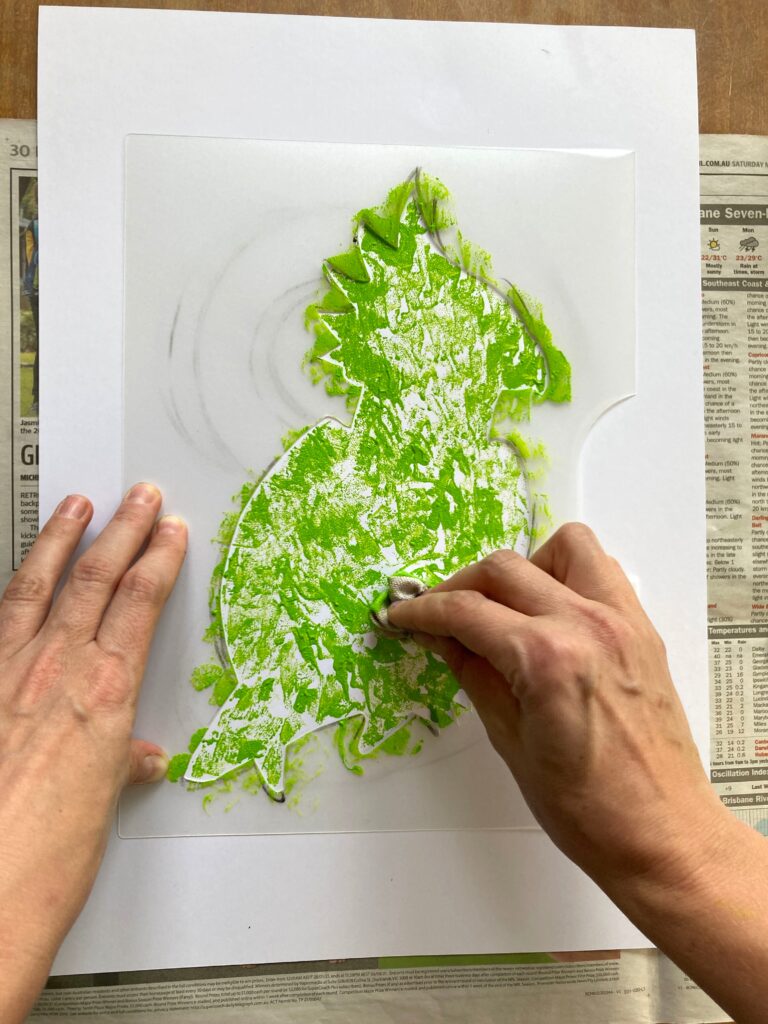
Hold your stencil really still with one hand, and sponge with the other. Get someone to help hold your stencil if you need, and don’t let it move!
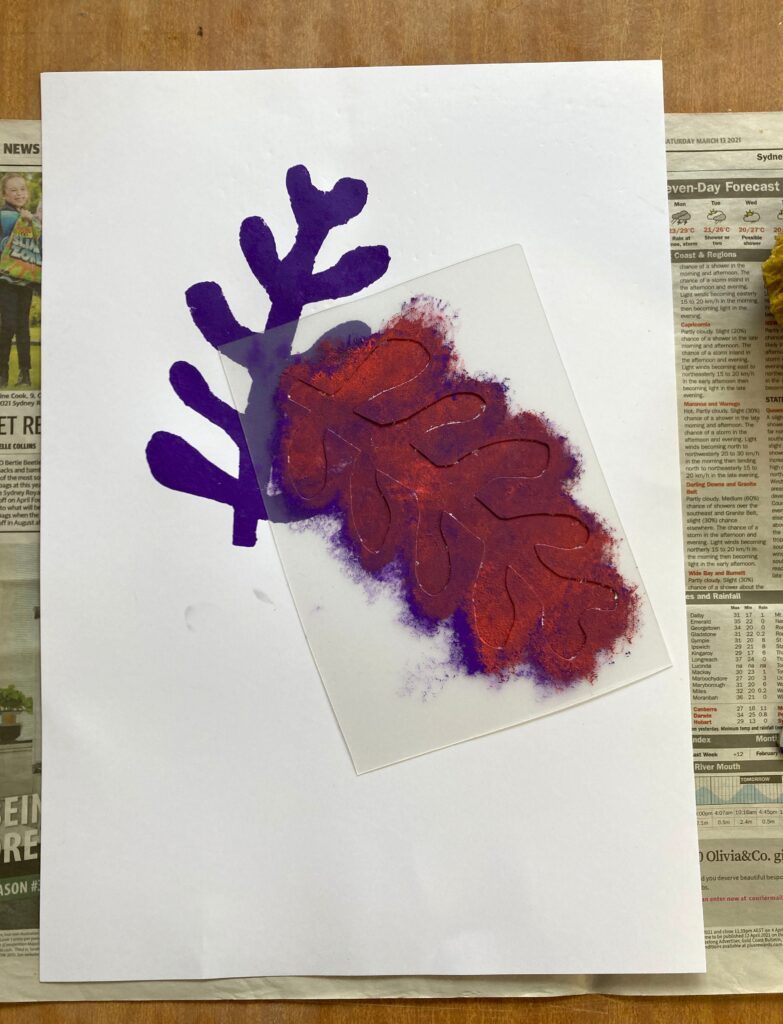
Once you have filled in your shape, carefully (without paint on your hands) lift the stencil straight off the paper. The stencil can be used again immediately as long as you keep using the same side. Do NOT flip it!
Either let the paint dry on your stencil, or wash it, either way the stencil will be good to use over and over again.
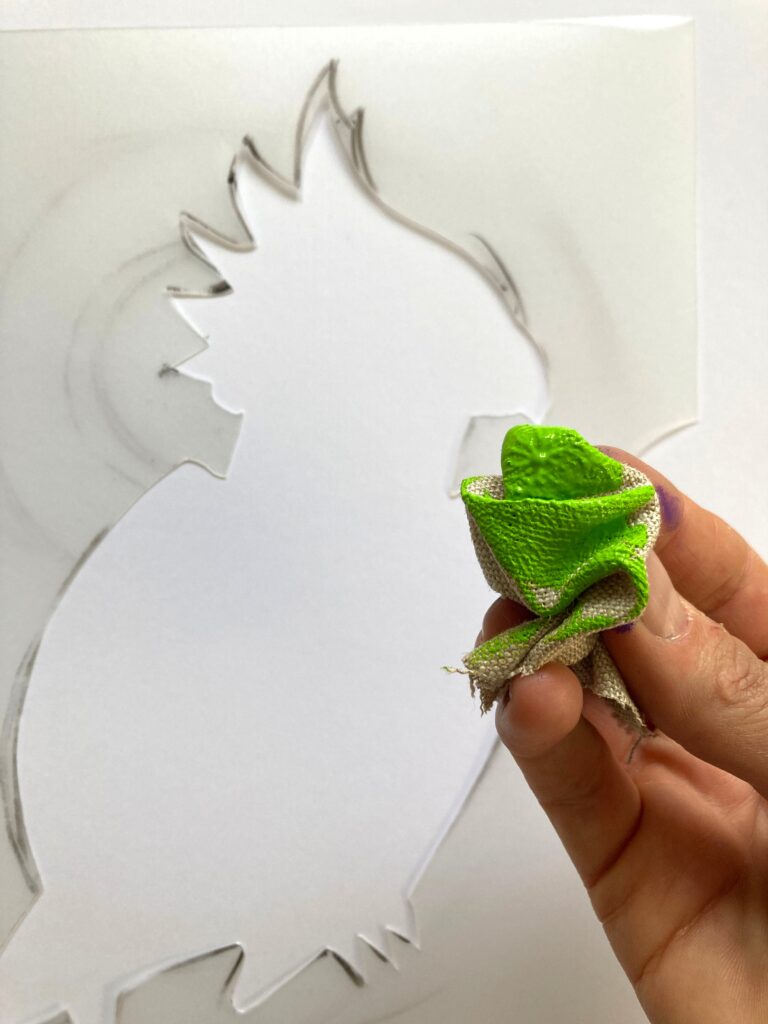
For a different effect, like I have with my bird stencil, get a piece of scrunched up fabric dipped in a thin layer of paint and dab that into your stencil instead, this will give you some interesting textures to play with.
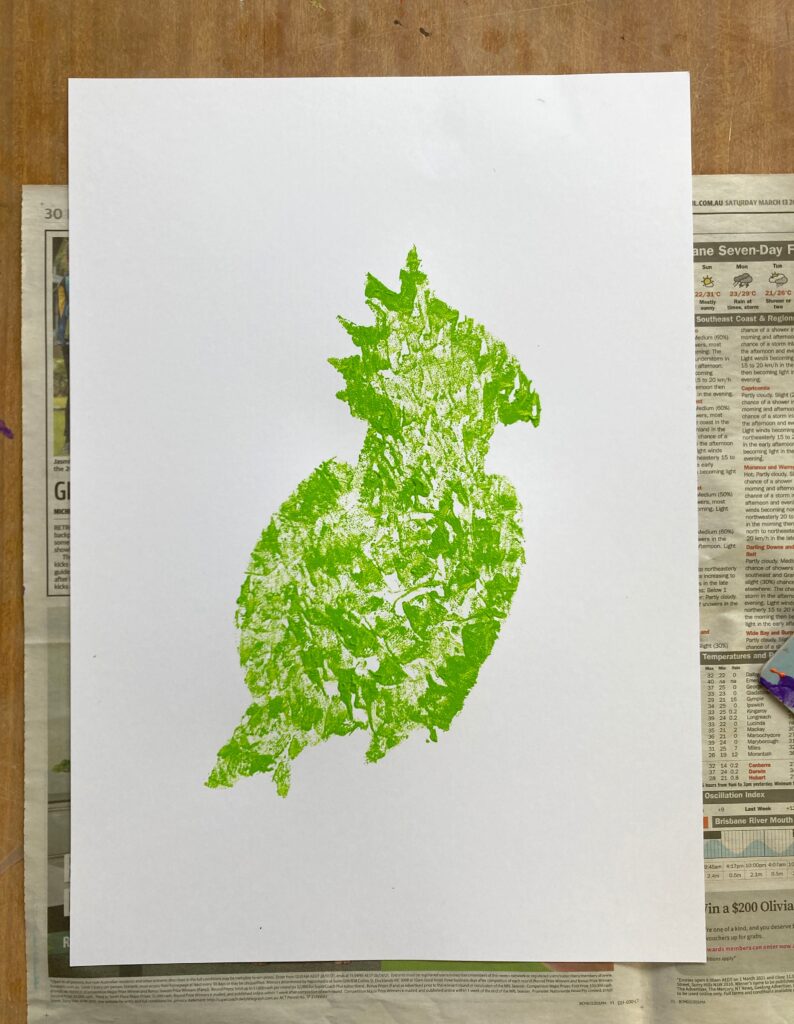

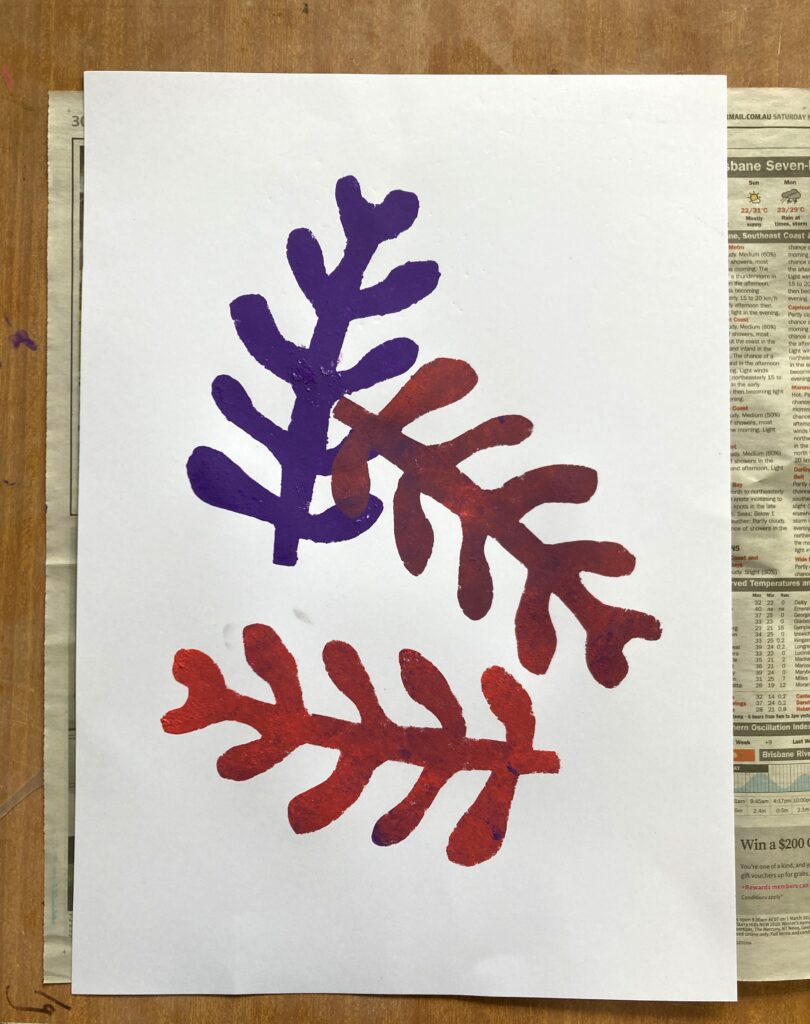
Stencilling is a great way to explore printmaking – you can also play around with the surface you print on – try patterned paper backgrounds, or newspaper – or try printing onto fabric using fabric paint. Try layering up your stencils with other prints on top. Or explore street art designs looking at text and symbols.
Want to try some other simple printmaking projects? Check out one of our older posts here to find more fun ideas.
Let us know what you think about this project in the comments below – we would love to know your thoughts.
Happy creating!
Tracy x