RAW art is a team of art specialists who run art incursions in schools and kindys throughout SEQ and Sydney/ Newcastle. We also have a fabulous range of DIY art kits which we send to schools and kids throughout Australia.
Pipecleaner projects
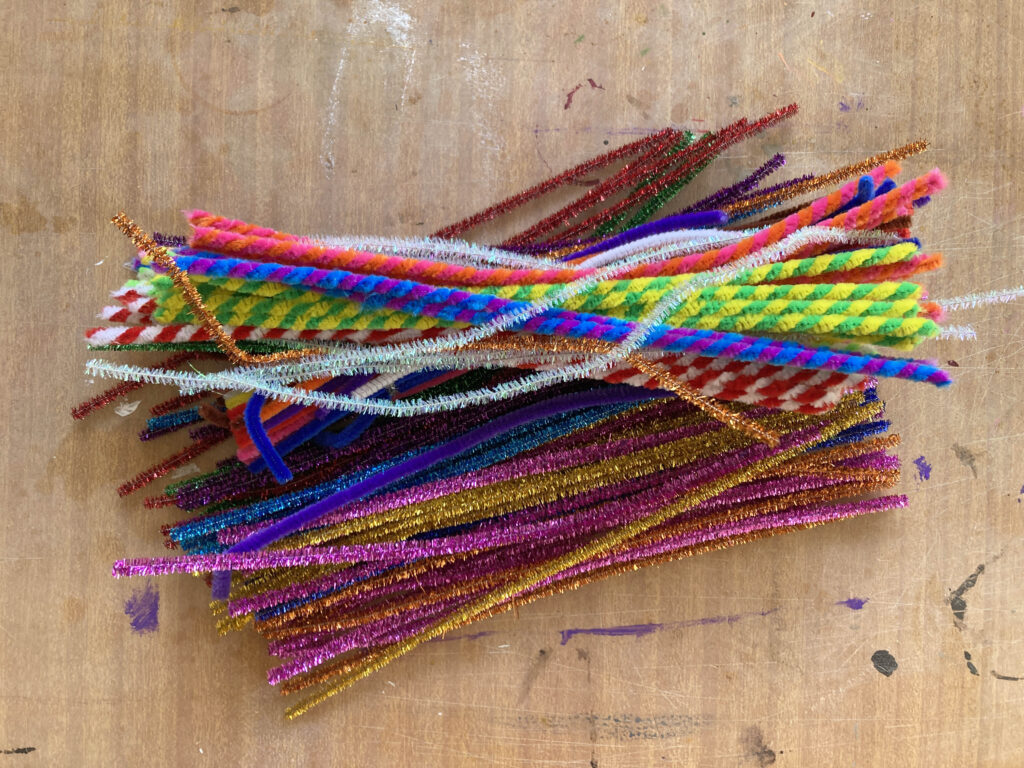
I will never get sick of pipecleaners (also called chenille stems), they are so easy to work with, and lend themselves to endless fun arty projects. Needless to say they are excellent for honing those fine motor and problem solving skills. Below I have compiled a handful of projects for you to explore pipe cleaners as an art material. For most of these you will need little else than a bag of pipe cleaners, and these days they come in some pretty fantastical colours!
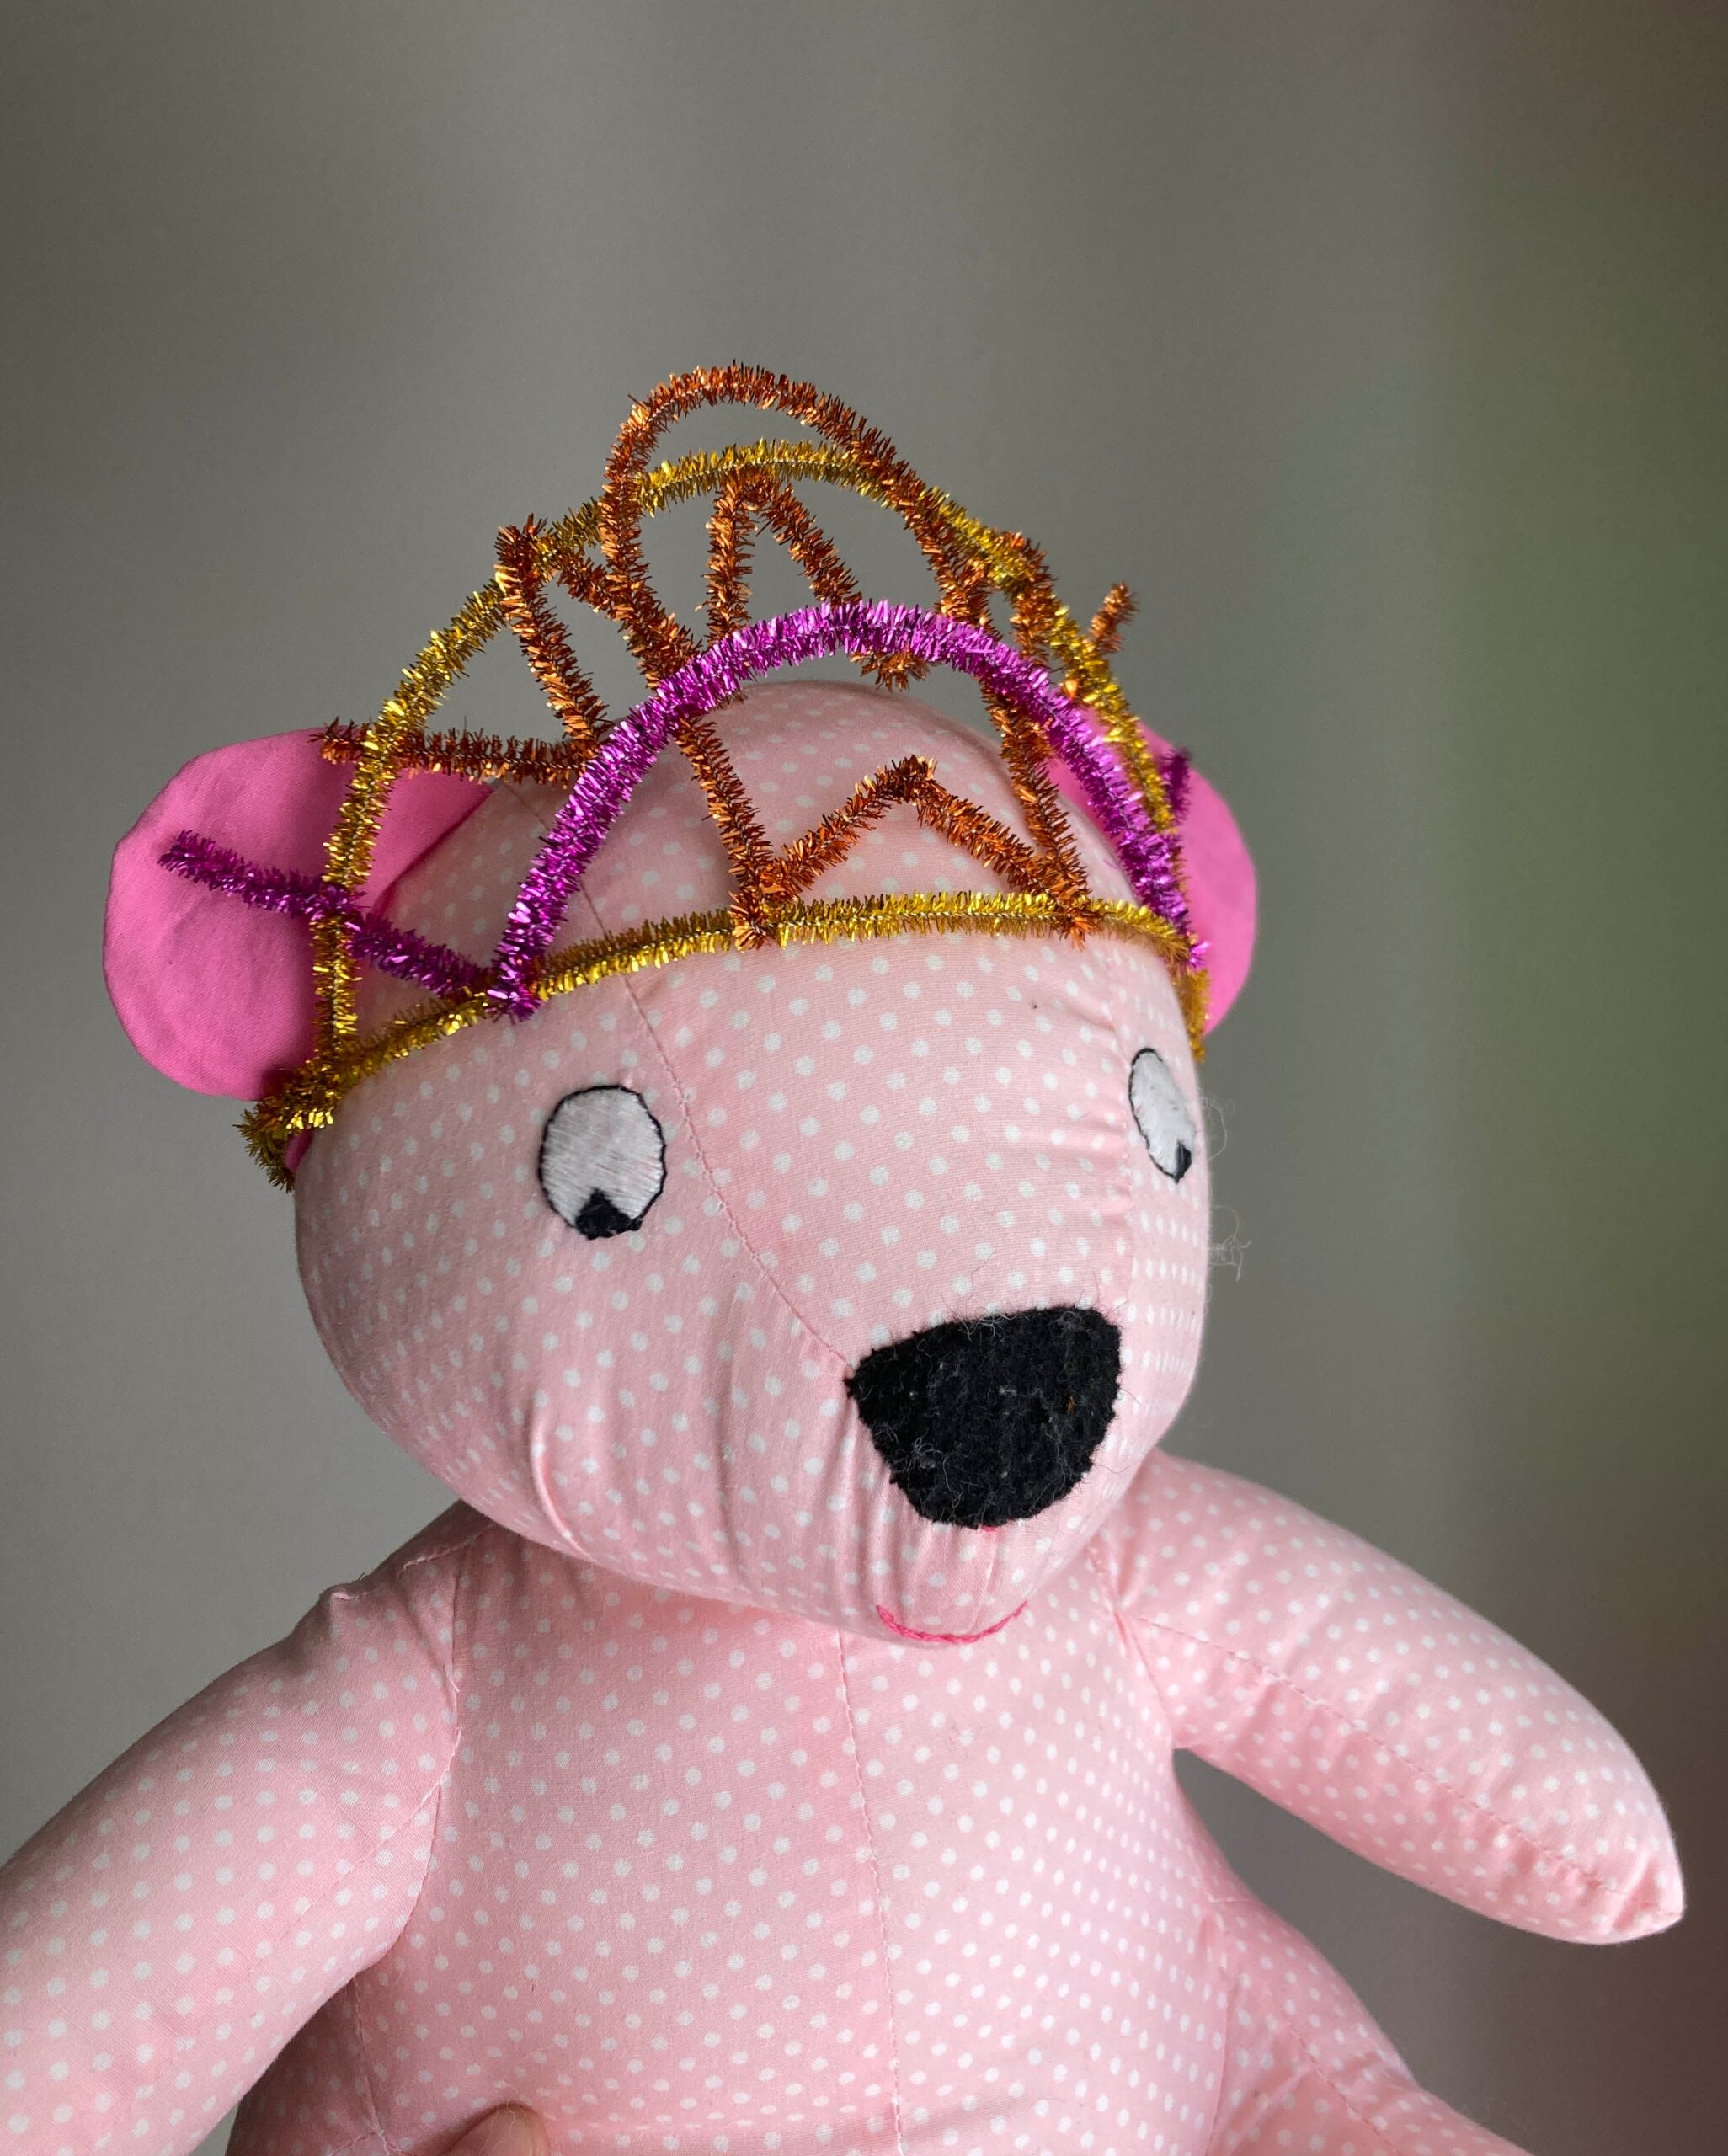
Crowns:
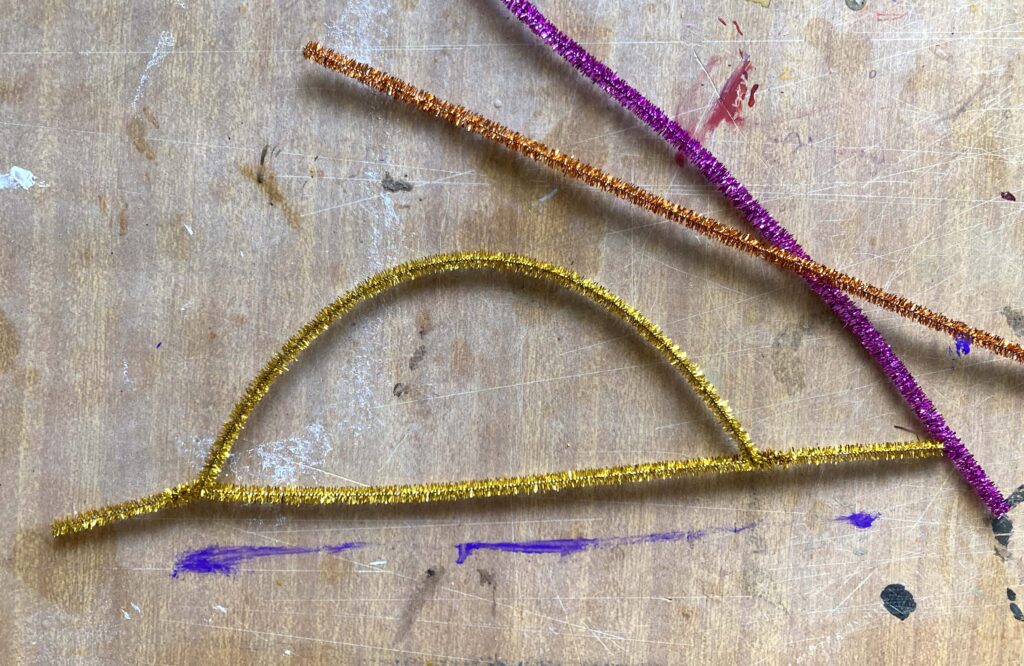
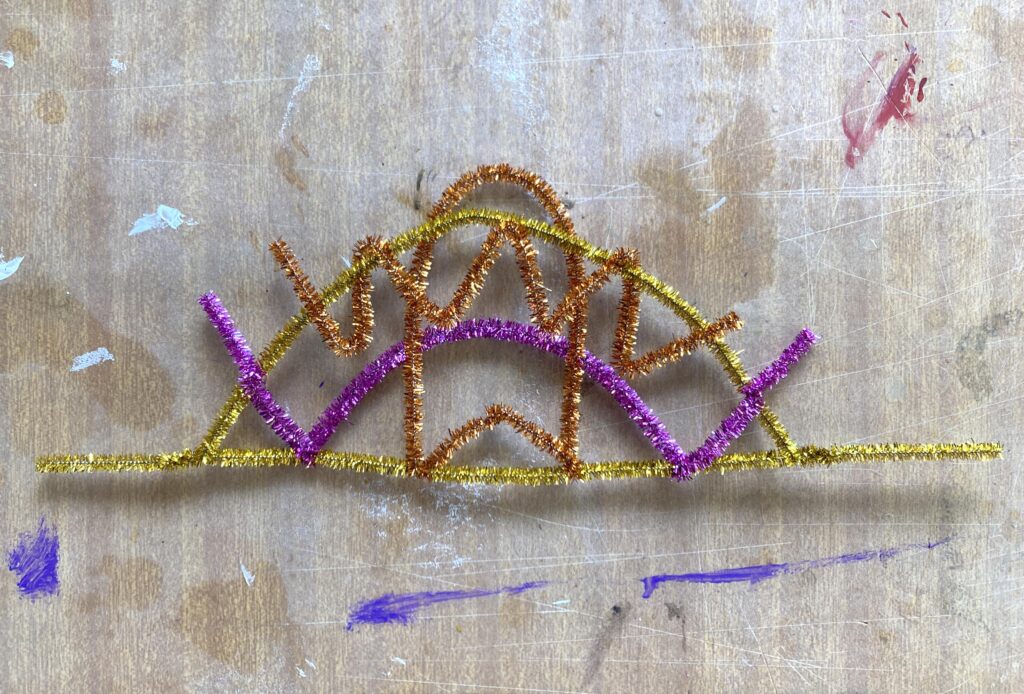
Make yourself (or your teddy) a brilliant pipecleaner crown with just 6 pipecleaners. Start with a semi-circle attached to one straight pipecleaner. Add onto the semi-circle with whatever kinds of shapes you like. Try zig zag’s, wavy lines for a great effect, and just ensure your pipecleaners are attached at the ends. Save one pipecleaner to extend the main band long enough to wrap around your child’s head. For more glam, add beads into your design.
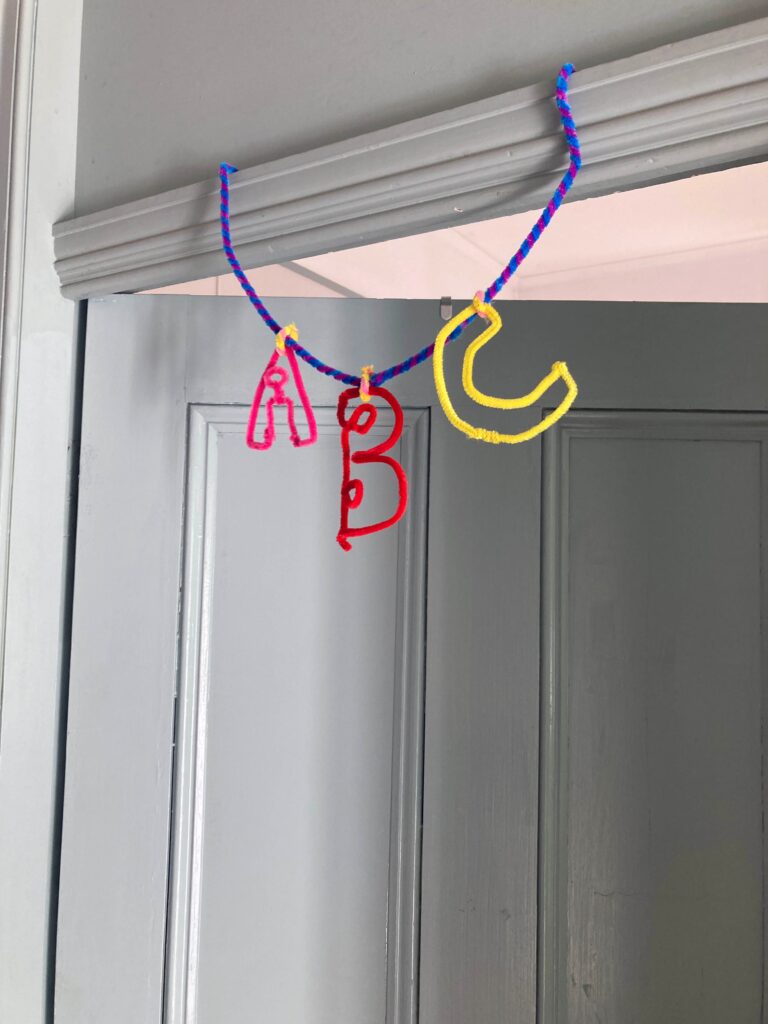
Words/wall hangings:
Learn your letters and words while you sculpt them with pipecleaners. I tried to make bubble letters and it was a fun challenge, but you don’t have to get that complicated. Get your kids to make their name and then hang it like bunting for a colourful wall hanging.
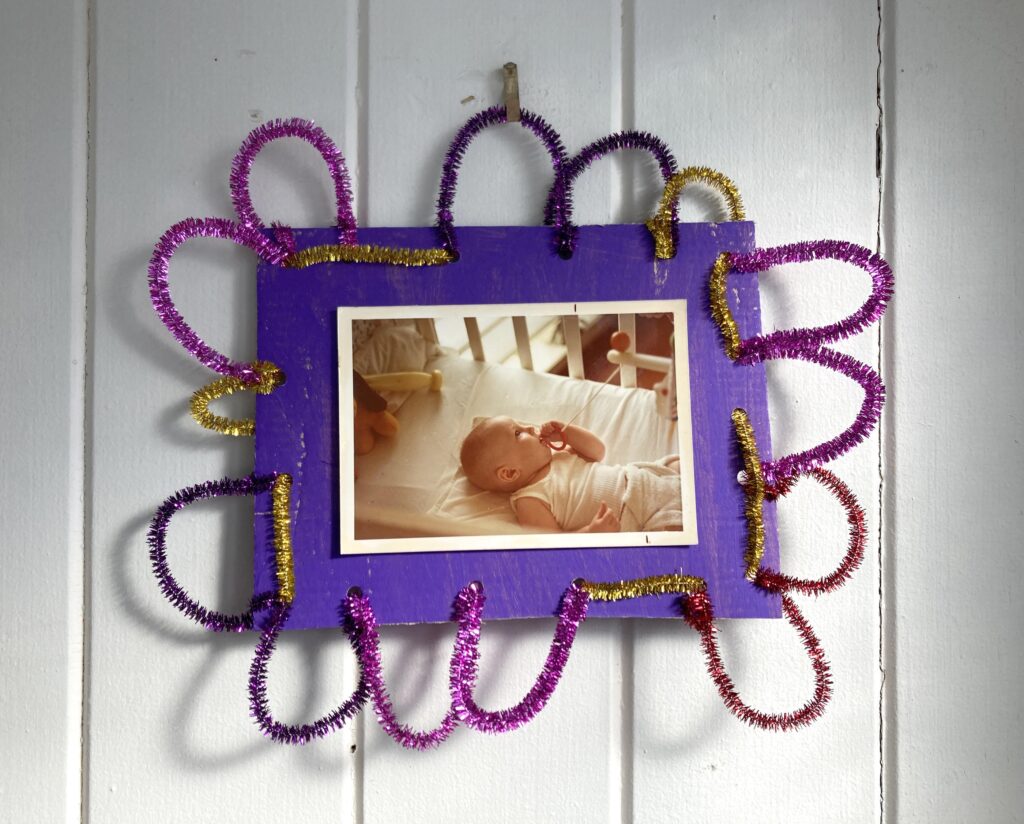
Frames:
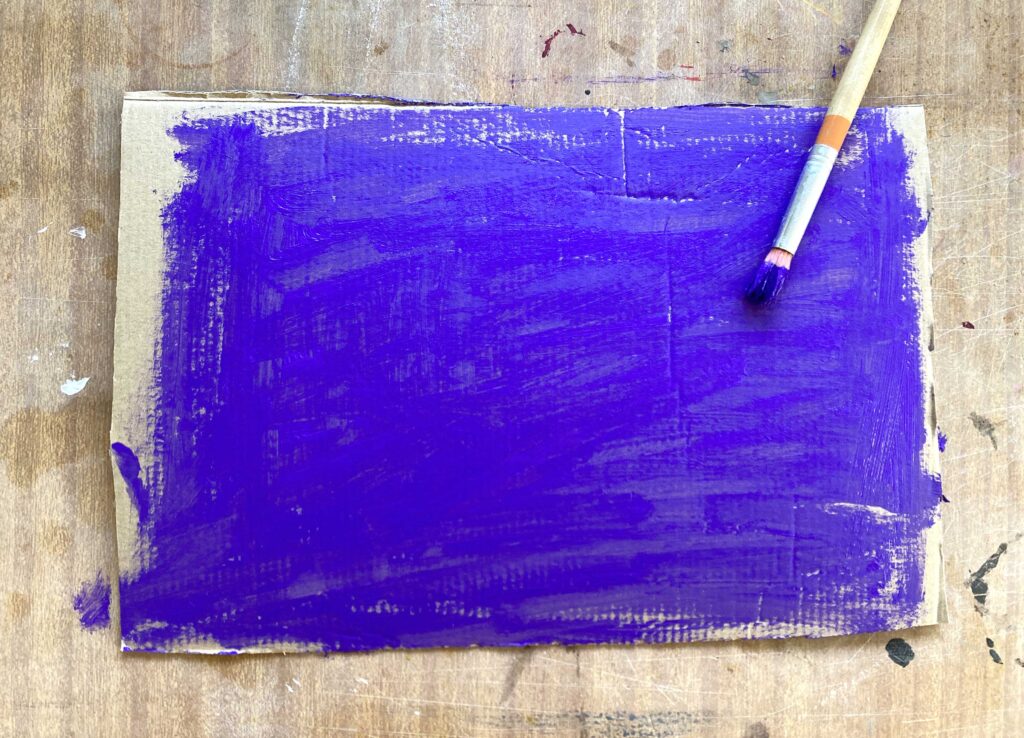
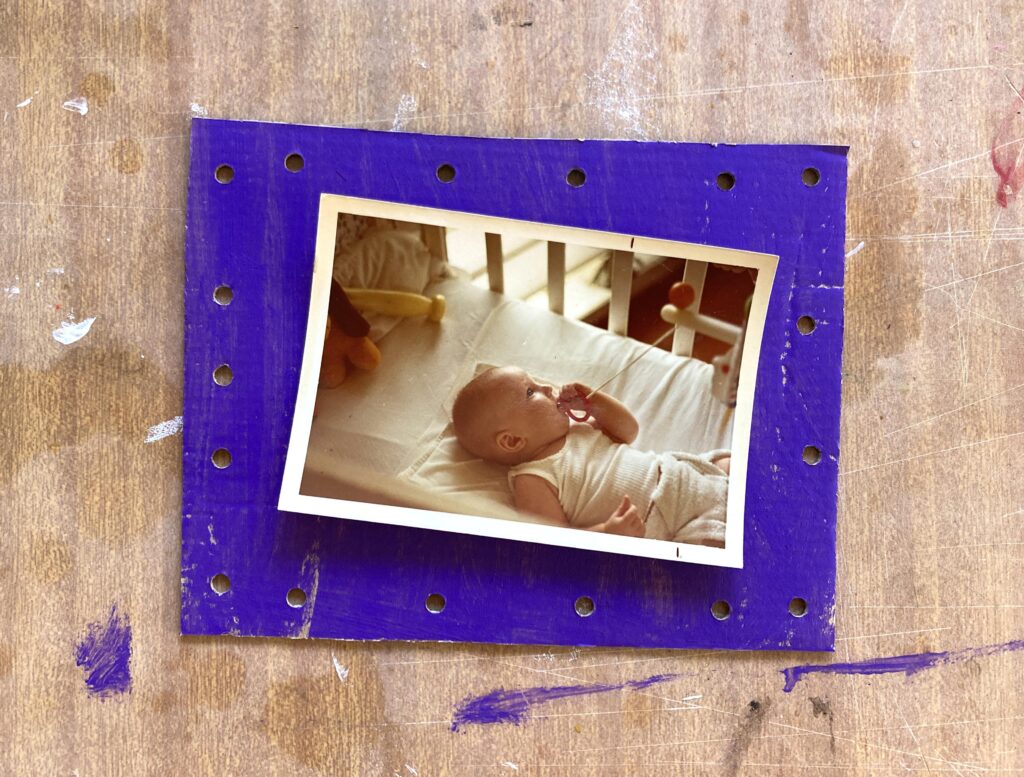
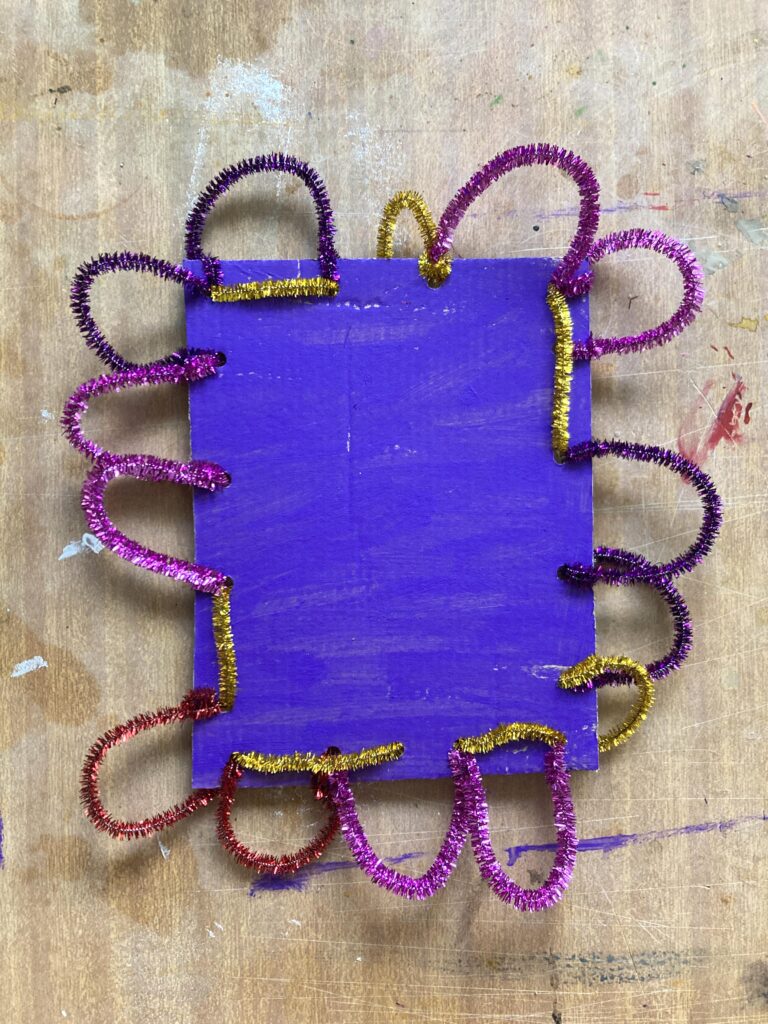
Using some recycled box card, all I did for this was paint one side, and once dry, cut it down to a frame so it fits your photo in the middle. Holepunch randomly around the edge, and then get weaving and threading. I chose a bumpy lumpy design like petals, but you can also do zig zags or shapes. I needed 8 pipecleaners for this one.
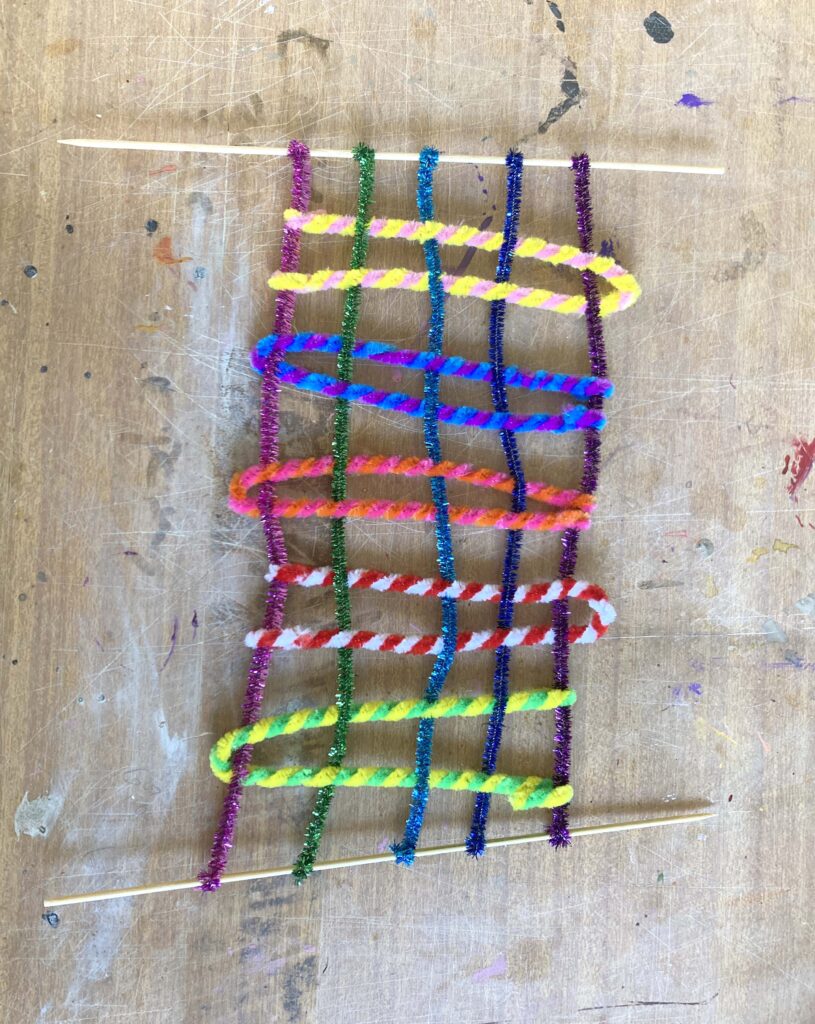
Weaving:
I made this one to practice weaving with. First twist 4-6 pipecleaners between two sticks, skewers or chopsticks. Then use some new pipecleaners to weave between the first ones. Keep it a loose weave or shift them together for a more compact design. These can become the beginnings of some cool wall-hangings… just keep weaving found materials in like wool, raffia, cardboard strips, paddle, pop sticks, or ribbons.

I love the simplicity of these projects! Go grab a few packets of pipe cleaners from Officeworks or your local art and craft shop, grab the kids, scissors, and start bending, twisting, creating!!!
Until next week,
Tracy x