
Retro cardboard flowers
We are always trying to think of ways to upcycle things here at RAW Art! Turning things destined for the rubbish bin or recylcle bin into creative art projects perfect for little hands! Upcycling is fun, and also very budget friendly for teachers and families.
So in this project we are celebrating the humble toilet roll/ paper towel roll/ cling wrap roll – all those cardboard cylinders which we normally turf – are PERFECT for this project. We are going to make some big bold colourful flowers……
Lets get started!
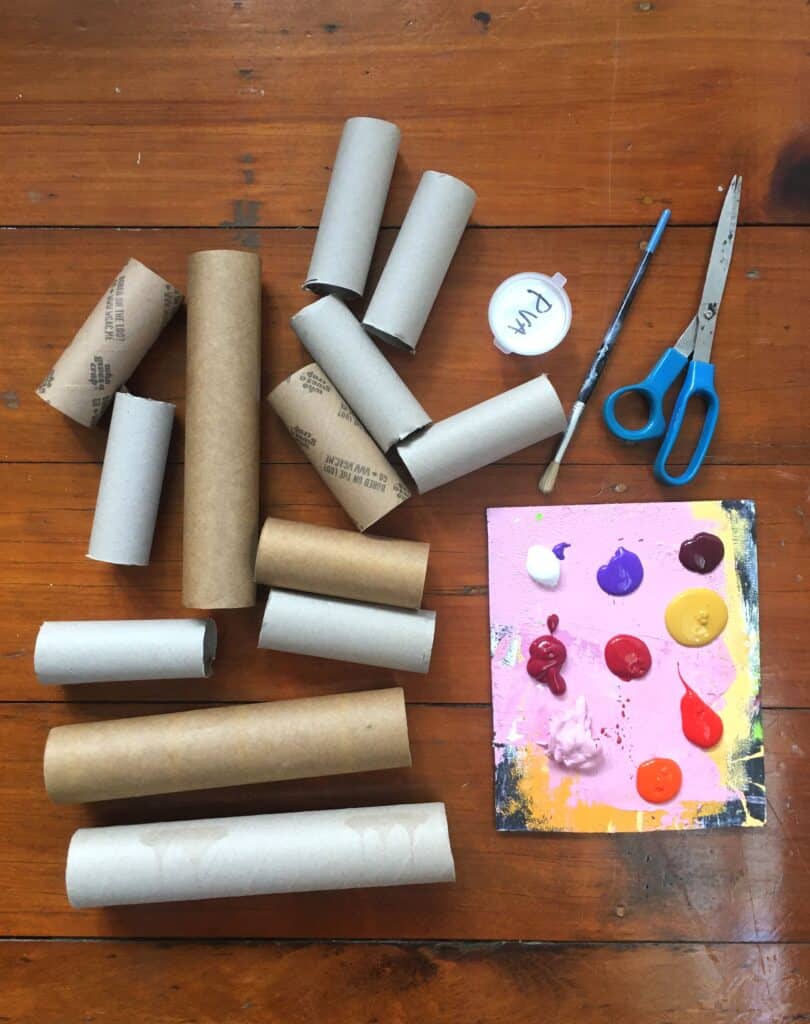
Materials: various cardboard tubes (must be thin enough to cut with scissors) toilet paper rolls/paper towel rolls/wrapping paper tubes, scissors, assorted acrylic paint colours (watercolours perfect also!) , large paintbrush, pva glue.
Are you looking for an awesome activity to use up some of your recyclables? Cardboard tubes are in plentiful supply in the home, and they make a great foundation for creating sculpture. This activity is a little more involved, you will need about an hour plus drying time, but it is fun, and the results are very cool. I have made mine into flowers, but with a simple colour change they could also be vibrant suns.
You will need at least 3 cardboard tubes for each flower, if you can collect more together then you will have more to play with, and can create a collection of sculptures.
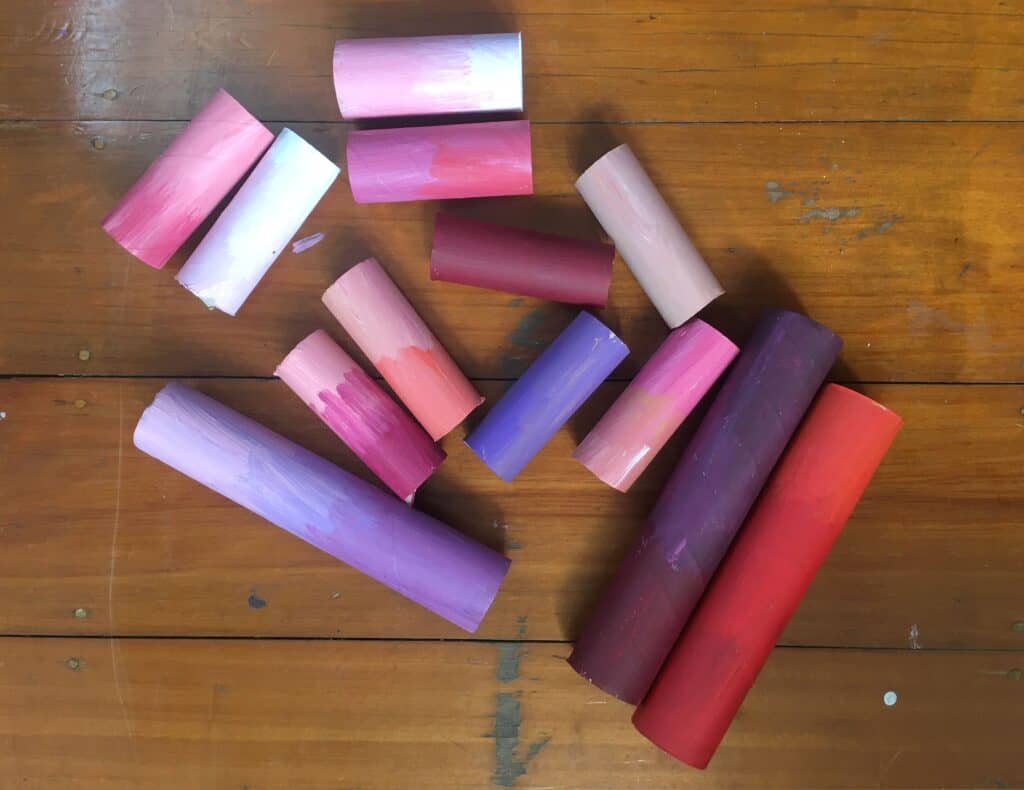
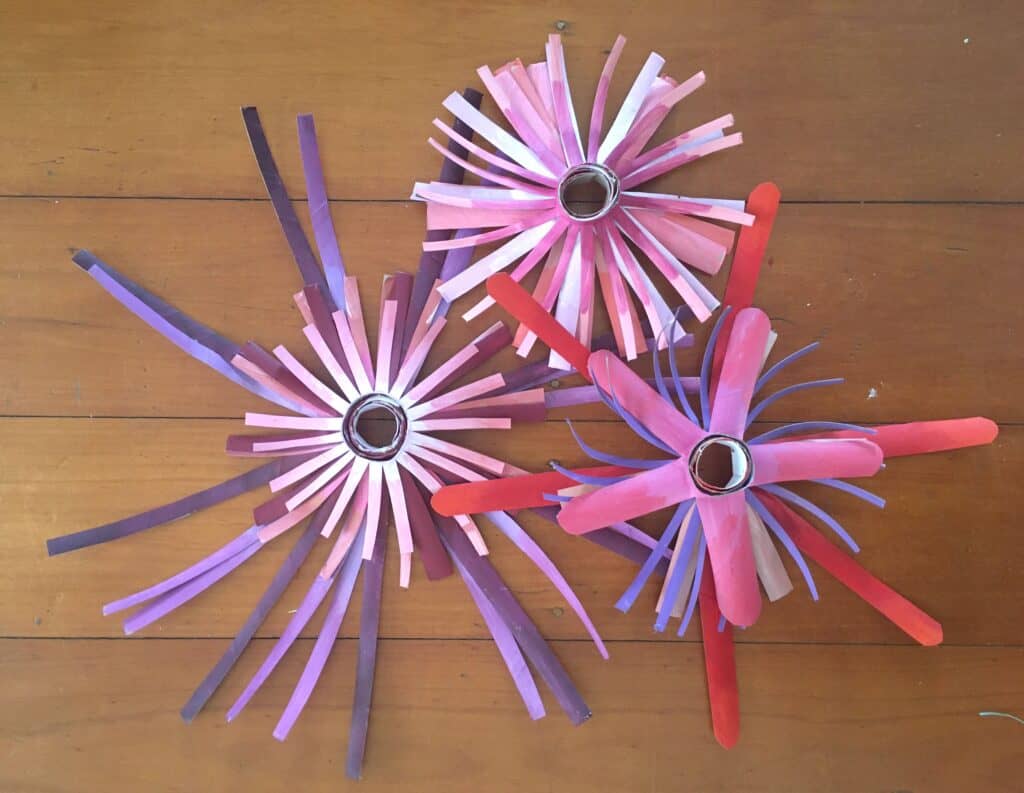
First paint the cardboard tubes a range of colours, they will look more effective if you give them gradual colour blends. Once dry, cut each into fringes around the edges, but leave a good centimetre at the top where it is all attached.
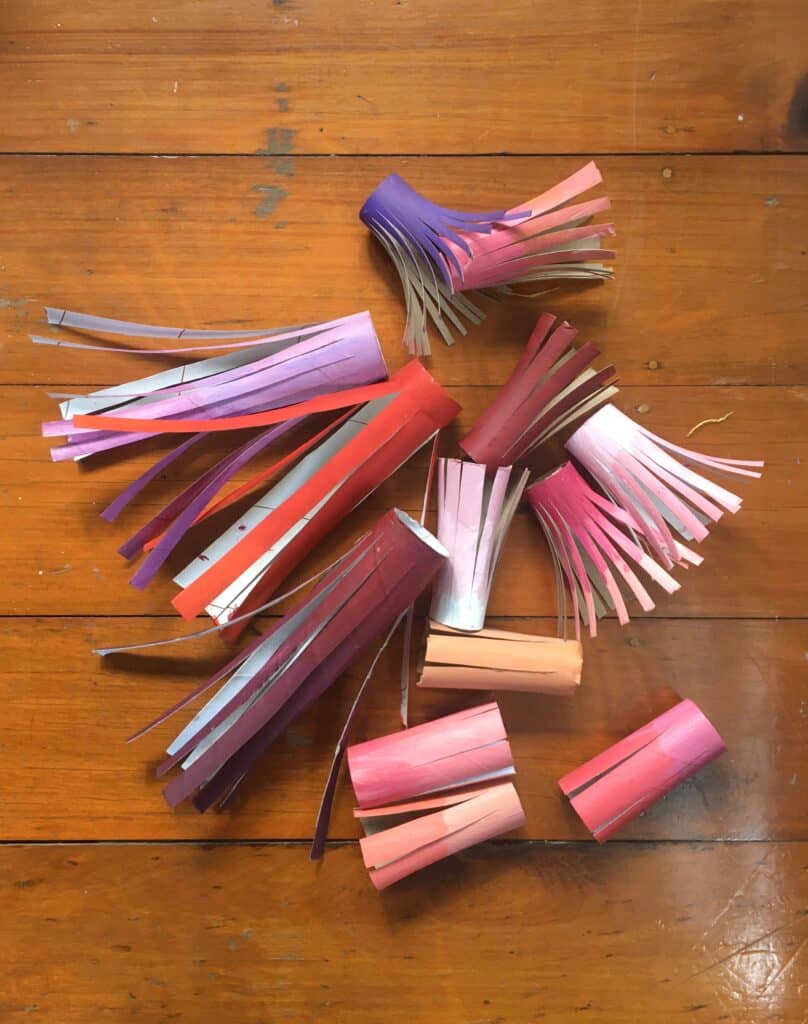
Start folding out the fringes at right angles to the tube so they spray out like petals. Begin to think about how your layers will work best, and even trim some of the top layers a bit shorter, or cut the ends into curves if you like.
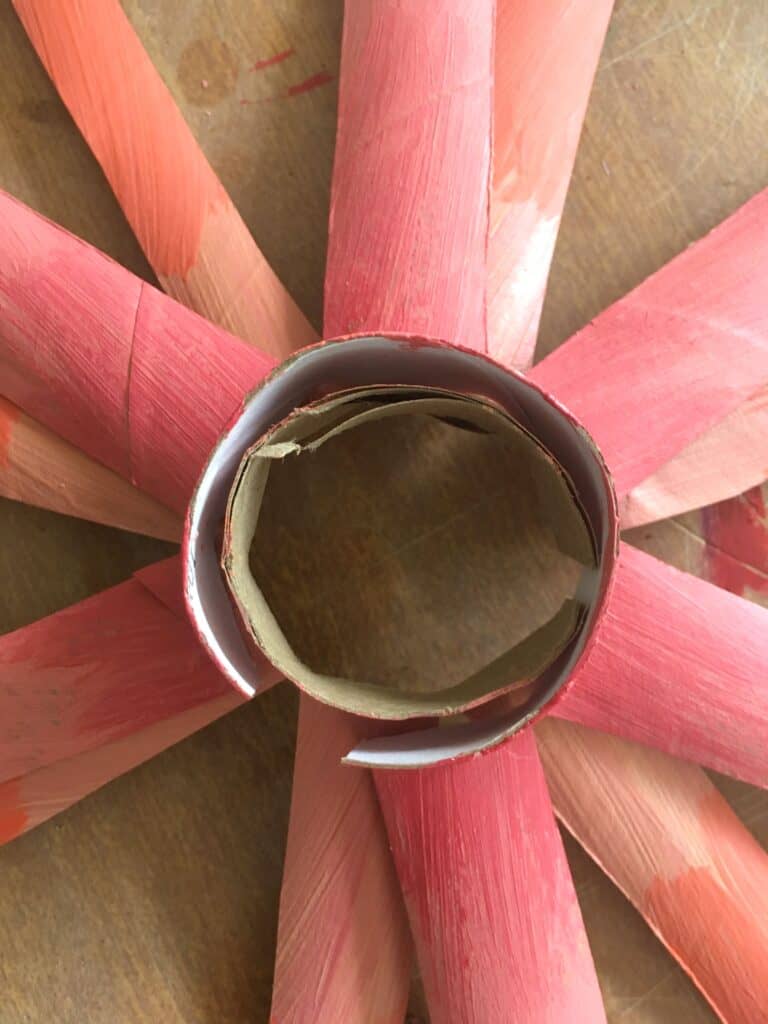
Now the gluing needs to start with the top layer first, this top layer stays a complete tube circle, and all the following layers are snipped once around the edge with scissors, and tucked inside the first tube. One at a time paint a thin layer of pva glue inside the middle and tuck in the second, and third layers of petals. Give it a good squidge with your fingers and then allow some time to dry.

These can be pinned up to make a glorious wallhanging or door decoration, or could be glued down to some paper to make a 3D tactile artwork. I think another fun extension project might be making pom poms to stick into the centre of your flowers – or perhaps the cup from an egg carton painted with spots for pollen!
What do you think? A fun festive project for your classroom – students can be learning about flowers, plants, nature, bees, pollen, bugs as they are making and creating. A great way to combine maths (symmetry, fractions), nature, and art all in the one project, while improving on those scissor skills!
Please share some of your projects with us – we would love to see what creative fun you have been having with your kids!
Keep creating folks!
Tracy x
Tracy