Valentines projects
Are you looking for a craft project for valentines day? Well, I have two pretty easy ideas that involve some simple equipment. Both projects are designed for kids age 7 and up, and of course there is always plenty of room to personalise the projects for your loved ones.
LOVE Letters:
This project captures the bold qualities of collage and text to create an eye-catching gift or perhaps valentines card. You will need two pieces of square card, I recommend cutting the squares from A3 size, the larger your card, the easier the cutting.
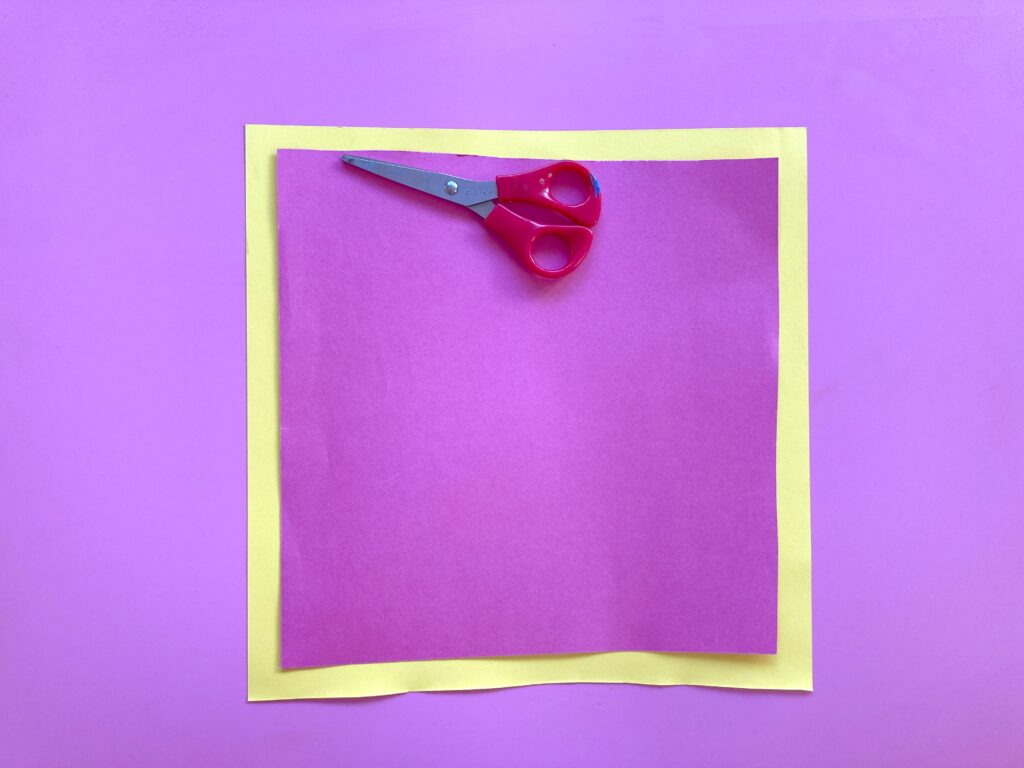

Trim one piece down by about 2cm per side, so it fits inside the larger. Now fold the top smaller piece into 8 squares, 4 folds horizontal, 4 folds vertical. Cut along the folds. You will be cutting letters into the squares, they don’t need to be perfect, I like when they look handmade and wonky, kids are great at that. You will need 4 of each of the letters in the word LOVE.
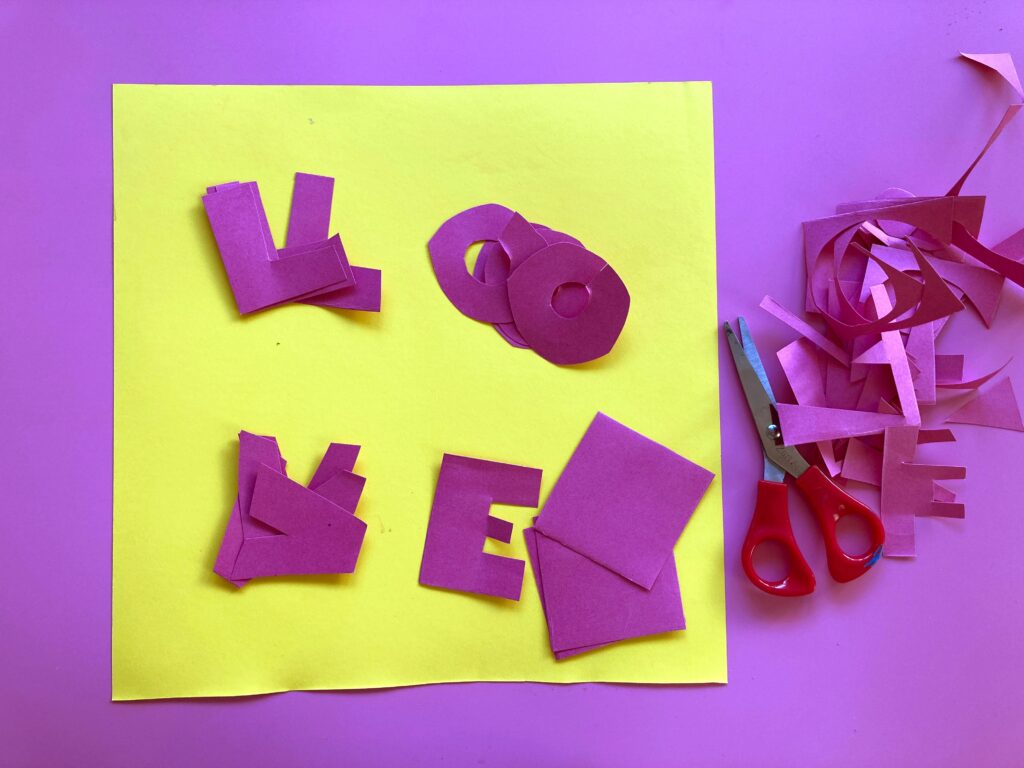
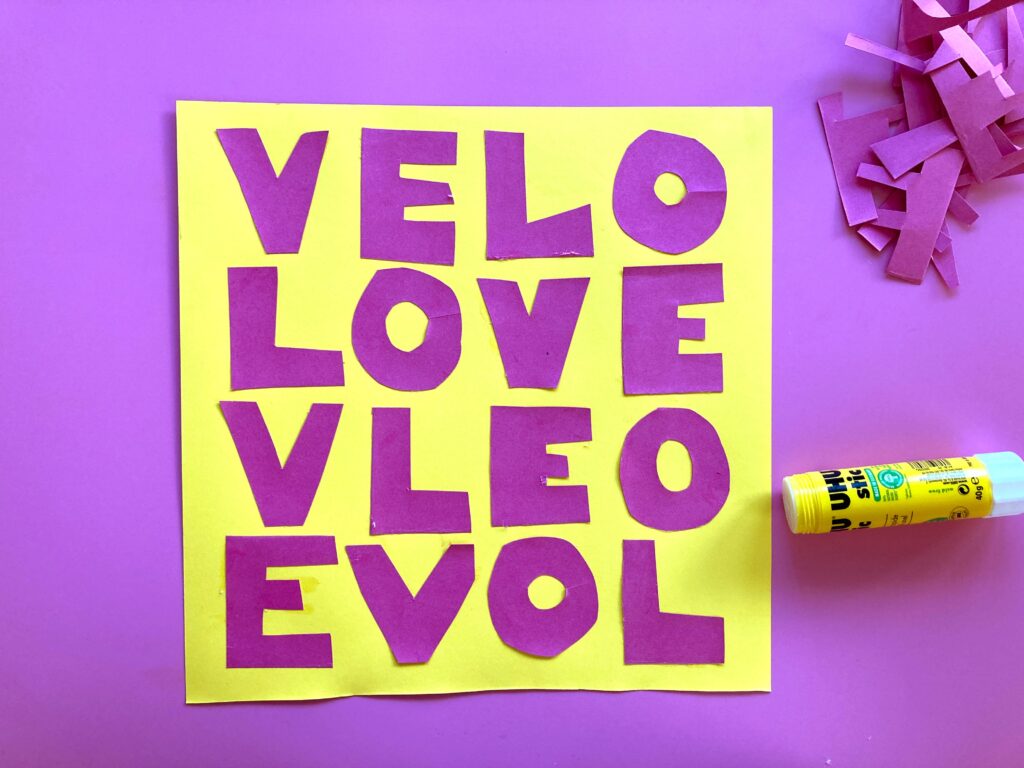
Now play with placement, use one line to arrange the letters correctly, then get playful and jumble the others. Once you are happy with your composition glue each one down well. Using the scraps from cutting, collage some small shapes onto your LOVE letters that are correctly lined up. The gentle geometric texture will draw attention to it in a subtle way.
LOVE Flowers:
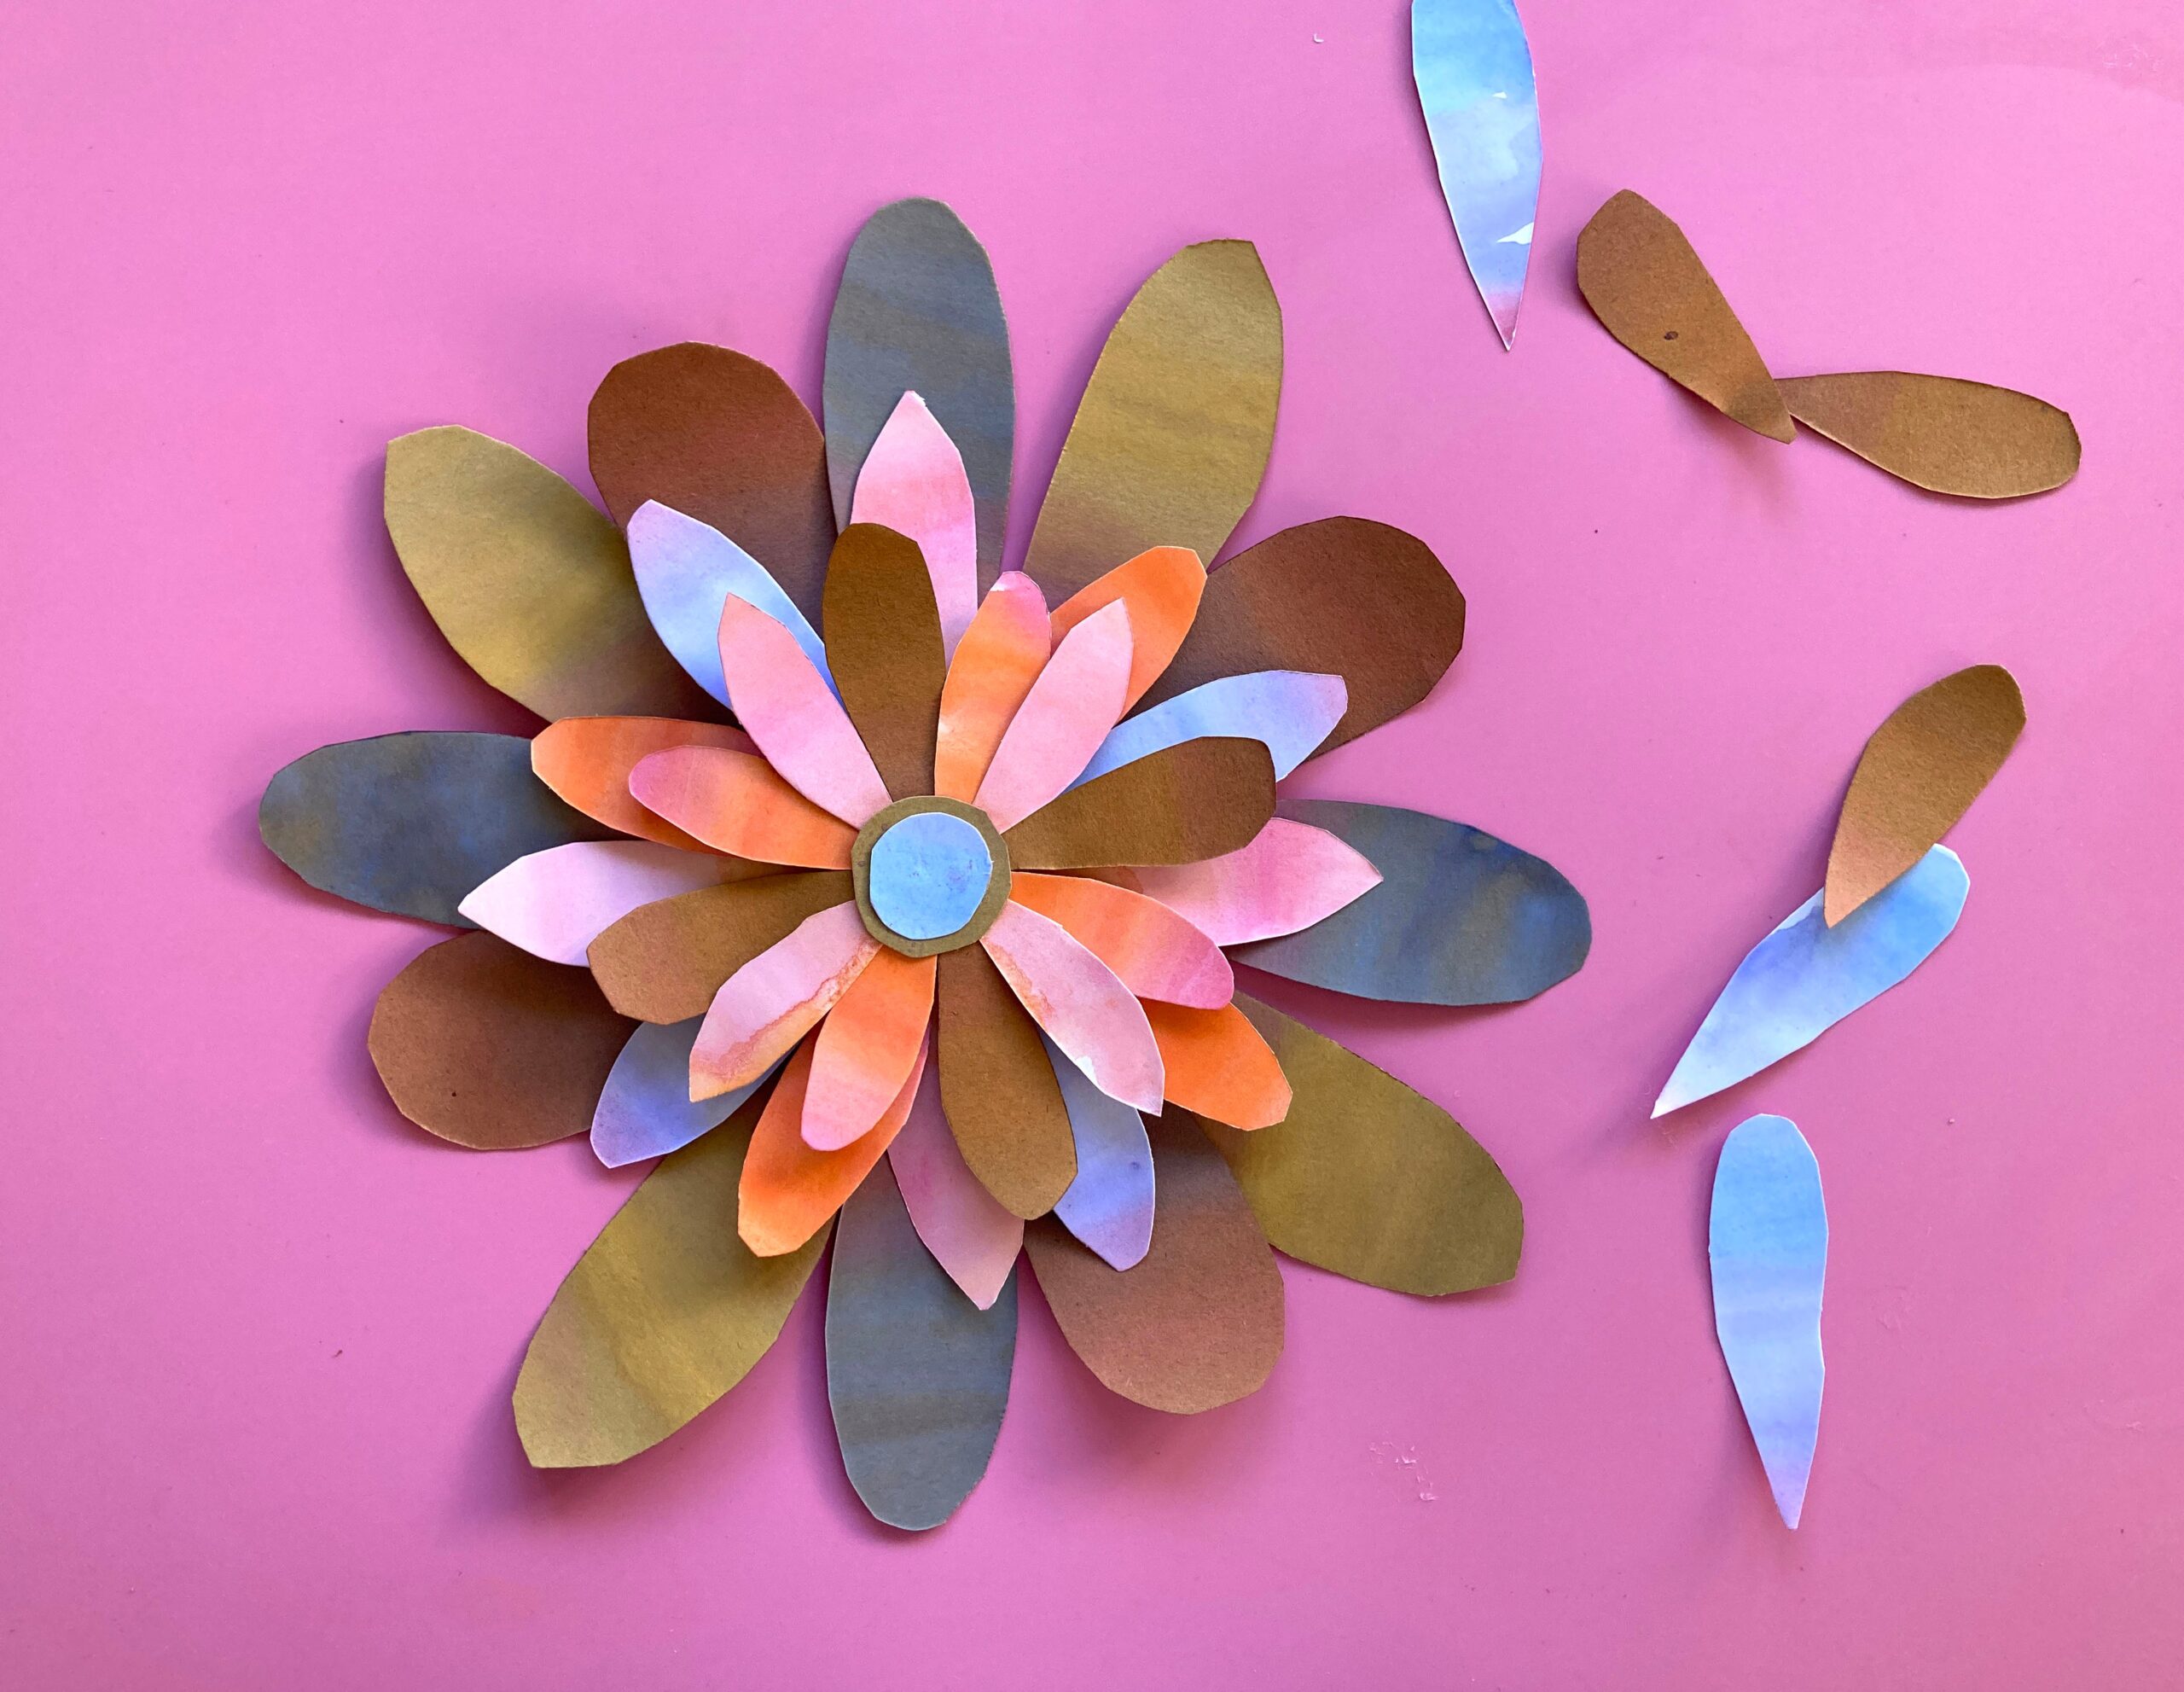
Give the gift of flowers a bit differently this year, make them from some painted card scraps. Collect a handful of card pieces, these brown and white offcuts I had lying around worked well. Using watercolours paint some gradients on the card. Working wet, paint from one side of the card to the other blending colours together that are next to one another on the colour wheel. Don’t overwork it, it can be a bit messy, any kind of painting application will work for this as long as it is bright.

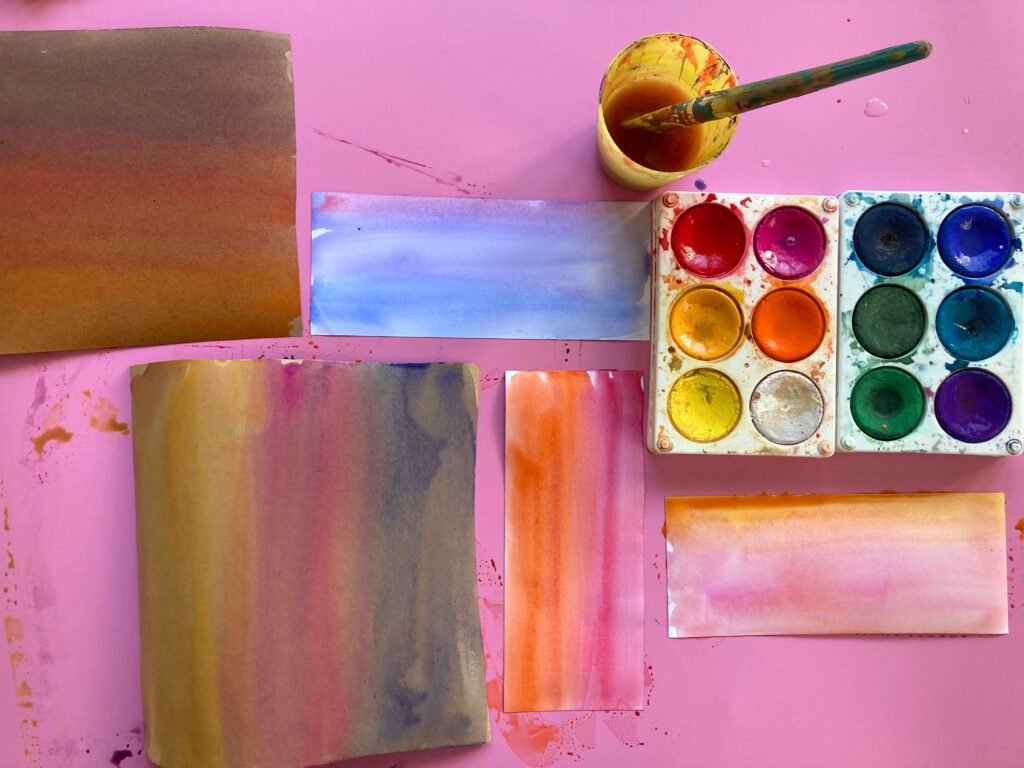
Once the card is dry, fold them a few times before cutting some long slender petals out. Make sure you are cutting so your gradients move along the length of the petals. By folding the card first, you are going to half your cutting time which the kids can often tire of quickly.
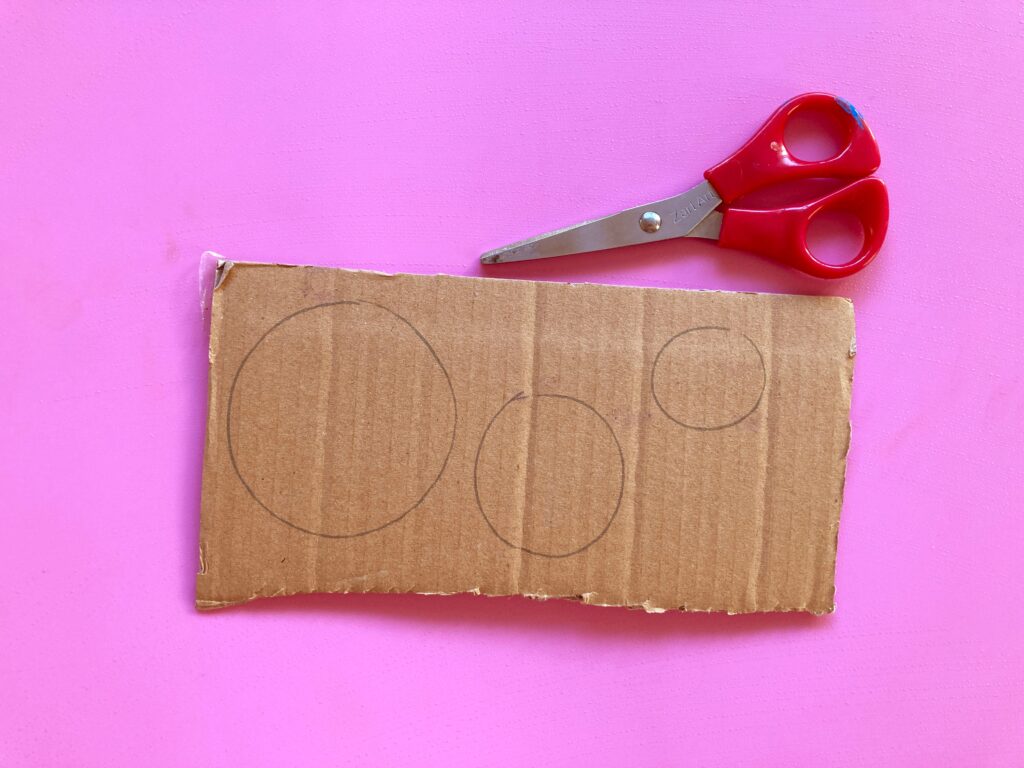
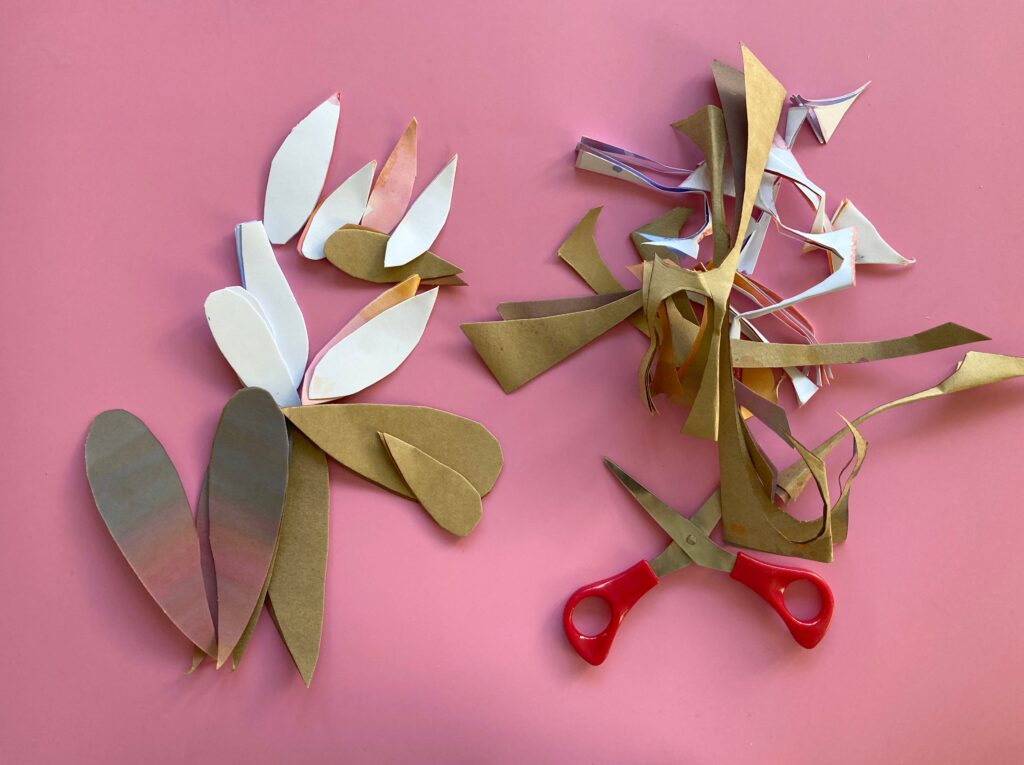
Cut large petals first, then use the smaller scraps to cut smaller petals for the centre. To assemble the flower, you will need 3 circles cut form some thick box card, cut them roughly at diameter 10, 6, and 4. Start gluing the largest petals around the edge of the largest card circle, then the smaller petal around the edge of the smaller circles.
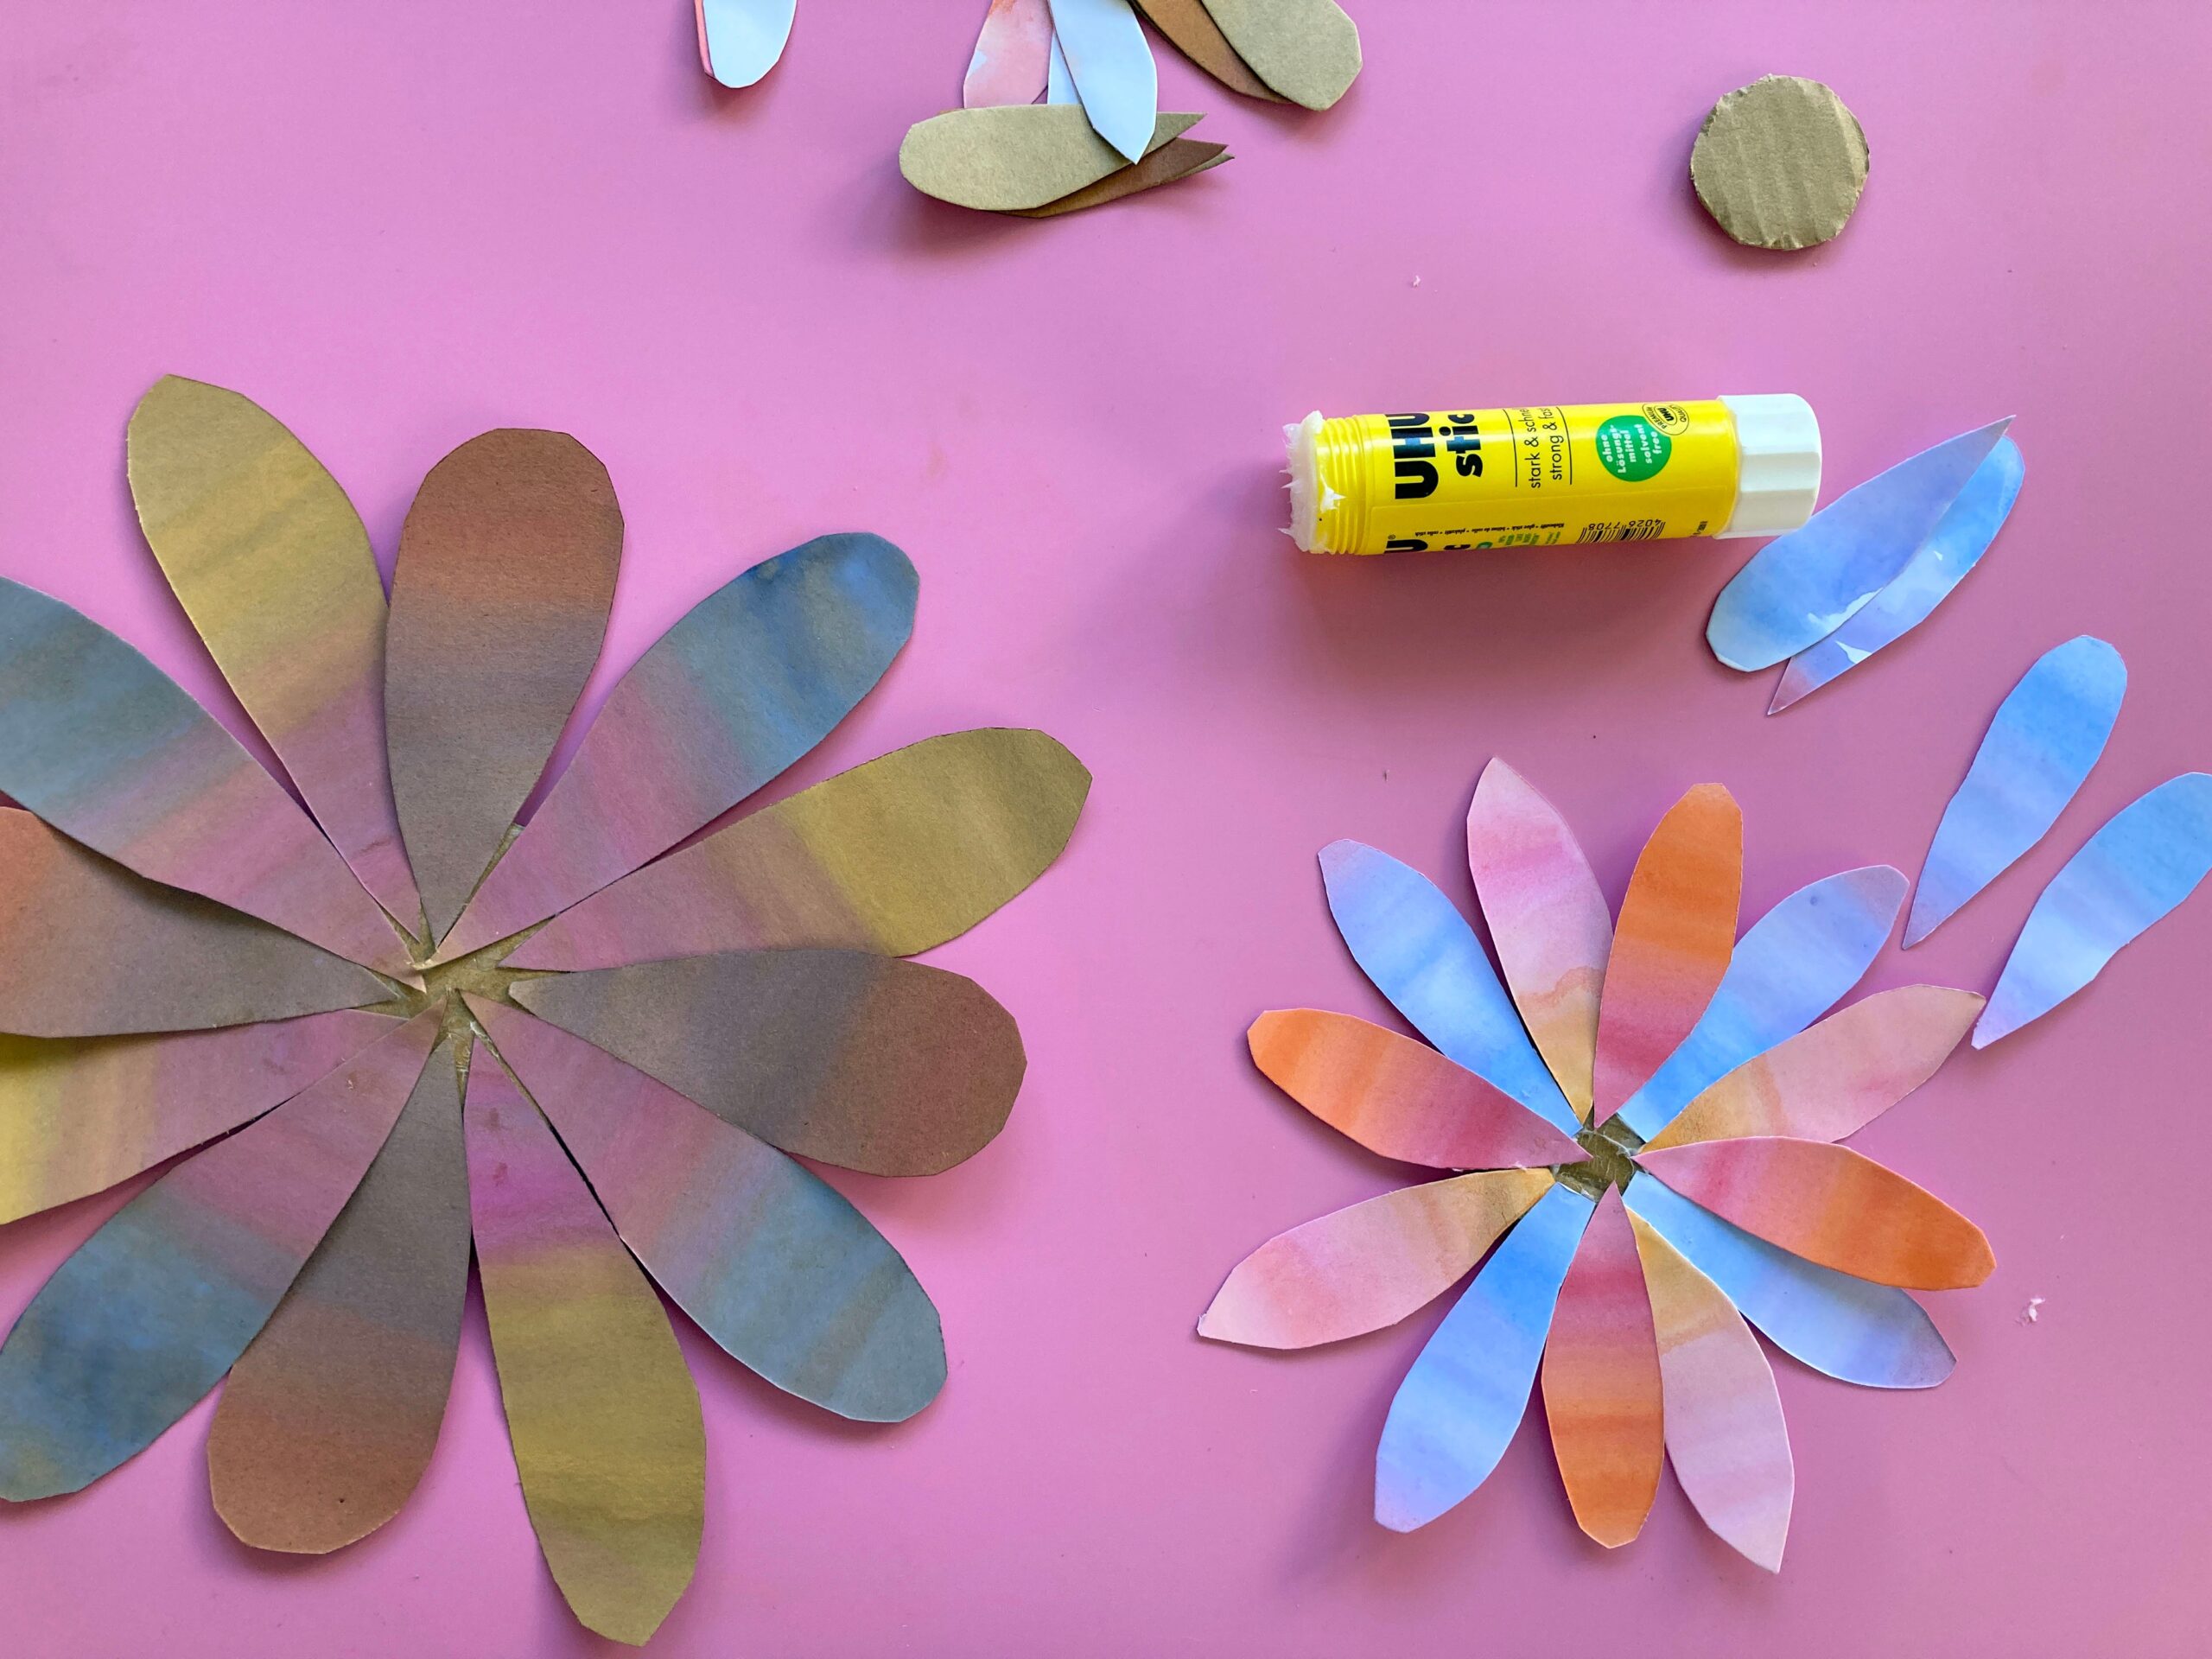
Once that glue has dried a bit layer the circles on top of one another and glue down to get a bit of a 3D effect. These could work well on the front of a valentines card, or attach to string or wire for a lovely gift!
We have a few other Valentine inspired activities up our sleeve too – hit this link to see 4 x other LOVEly projects.
Do you have any ‘go-to’ Valentine projects?? Let us know in the comments below.
Heres to a Happy Valentines Day.
Tracy xx