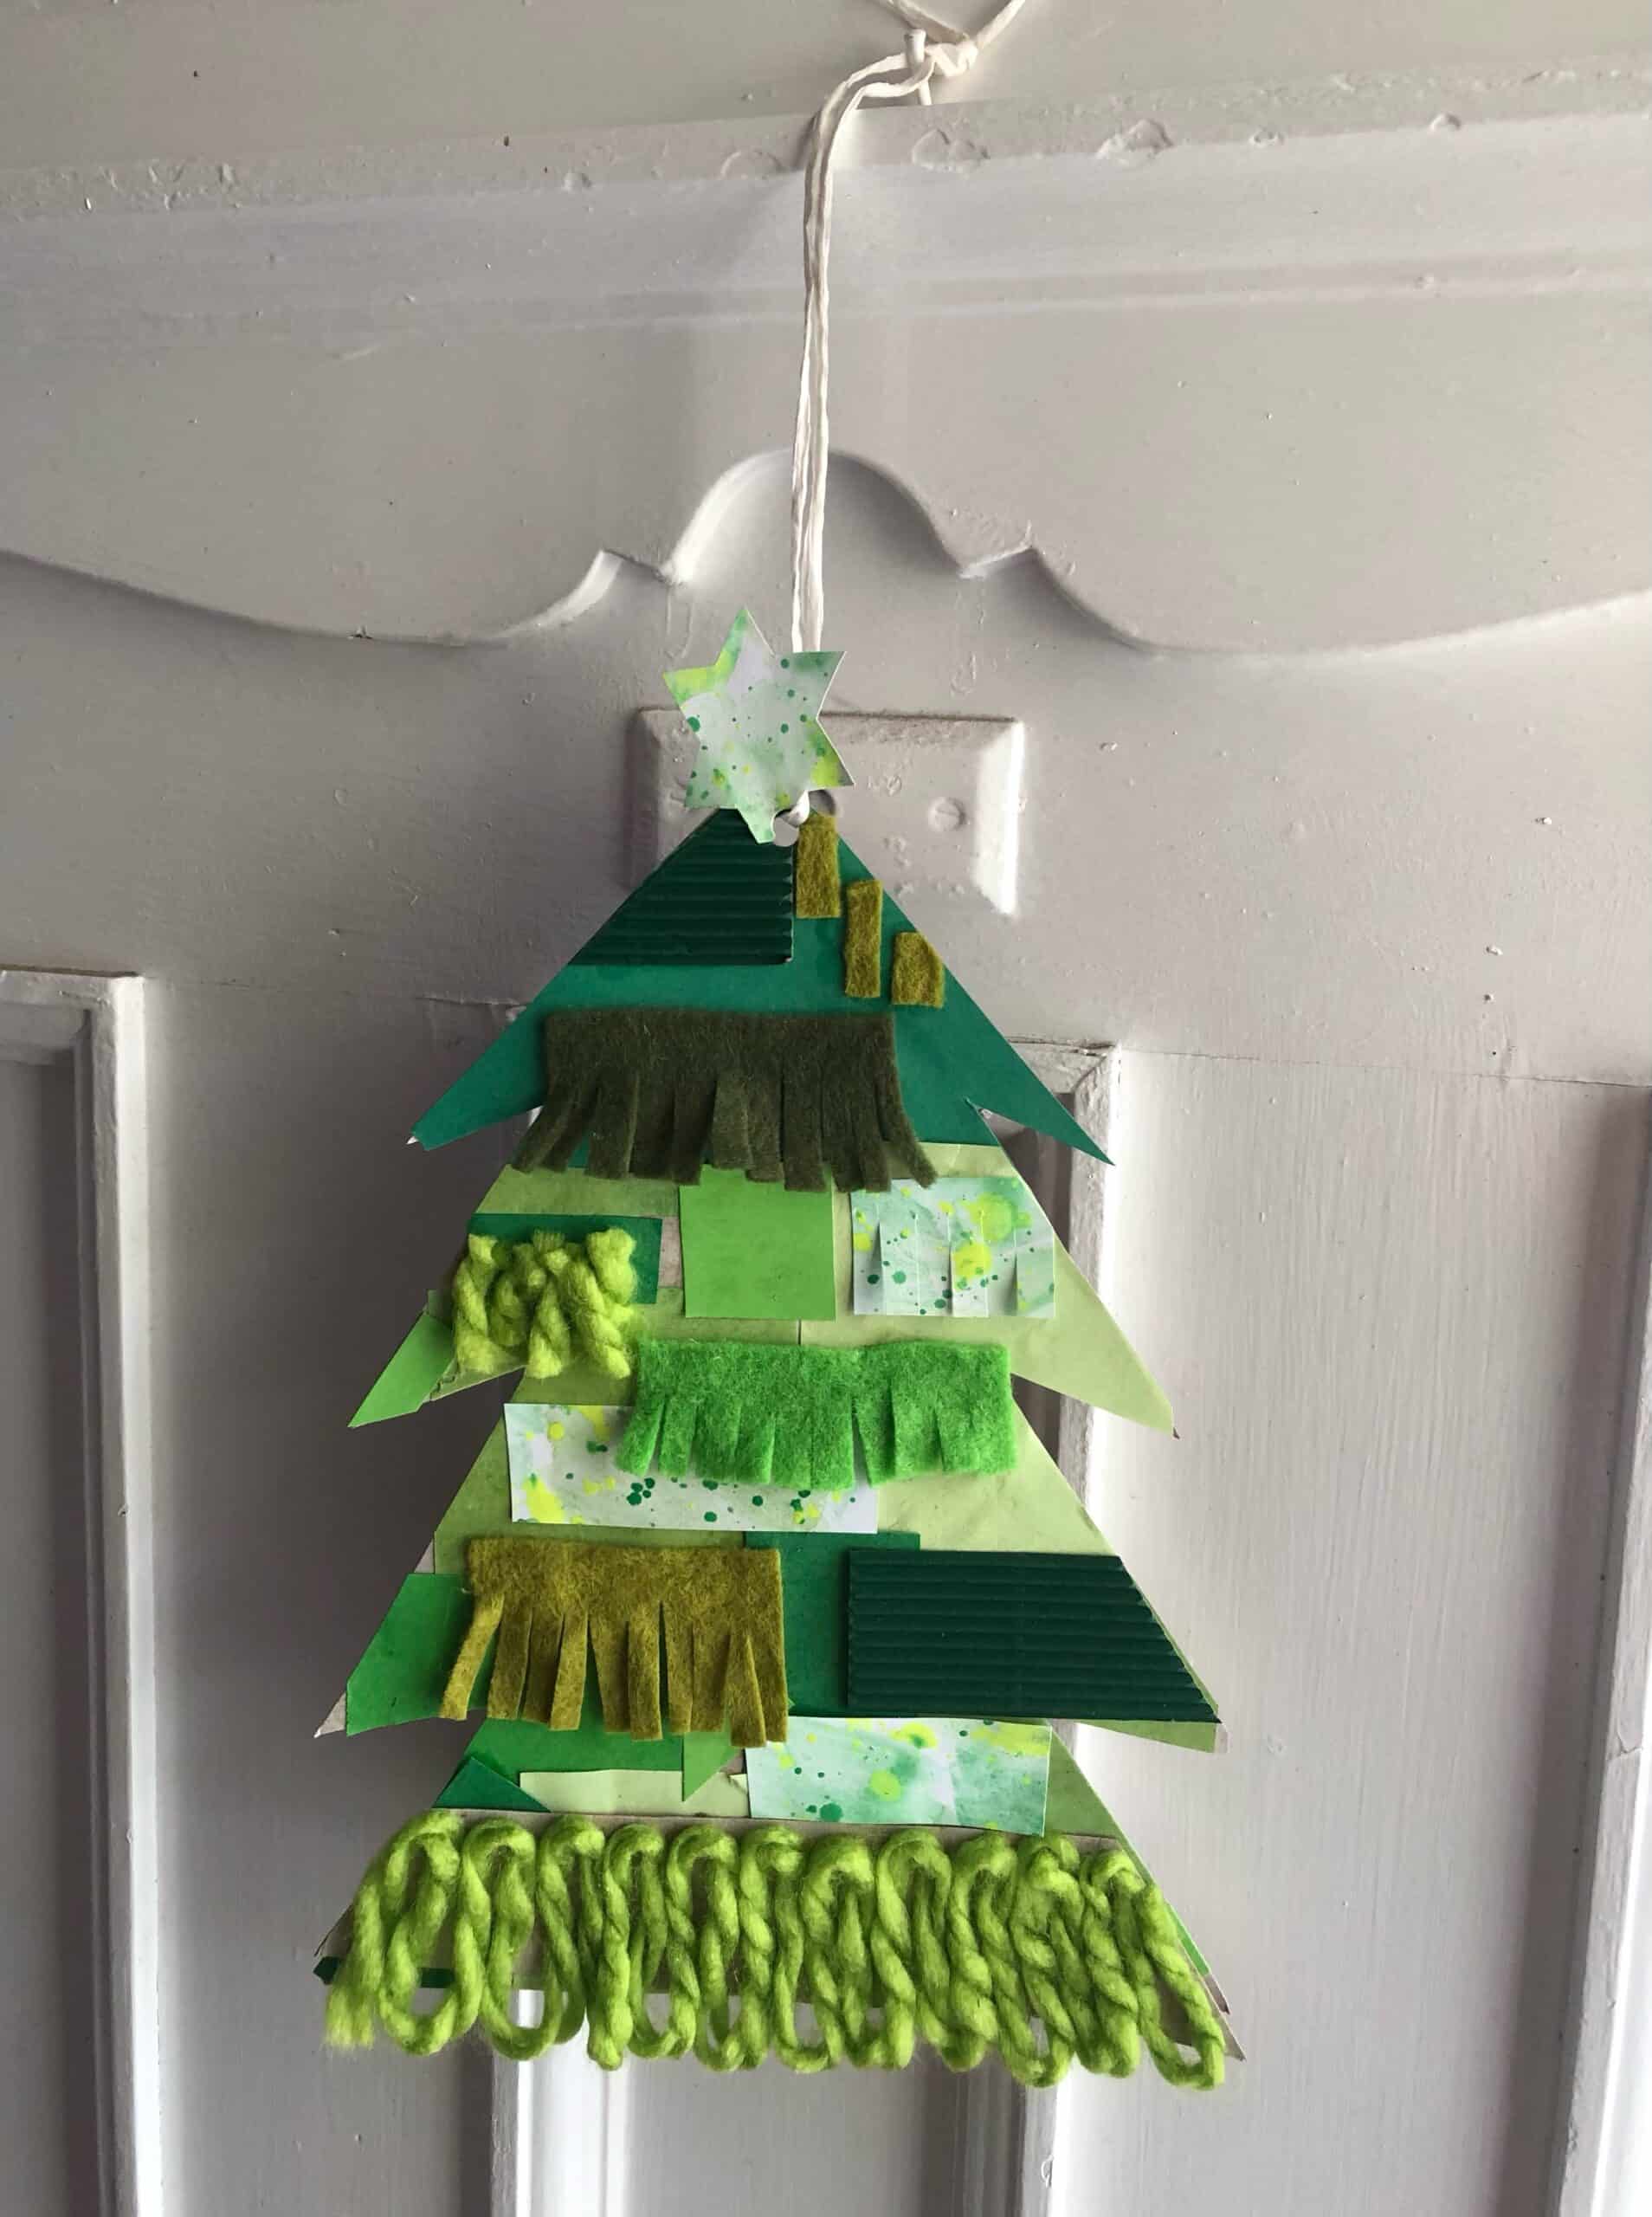
Let’s get festive exploring texture with this fabulous little Christmas wall hanging! This
project is fun right from the get-go, finding textures and shades of greens of all kinds.
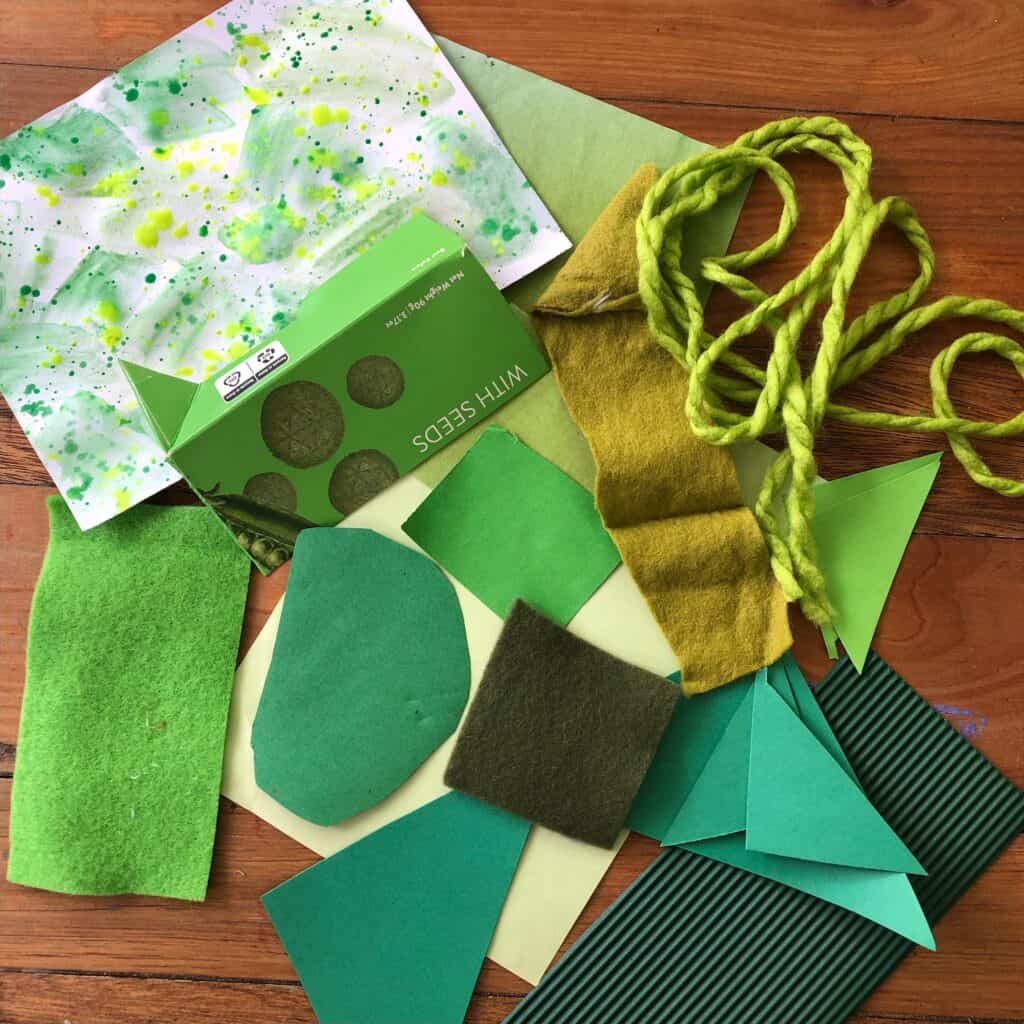
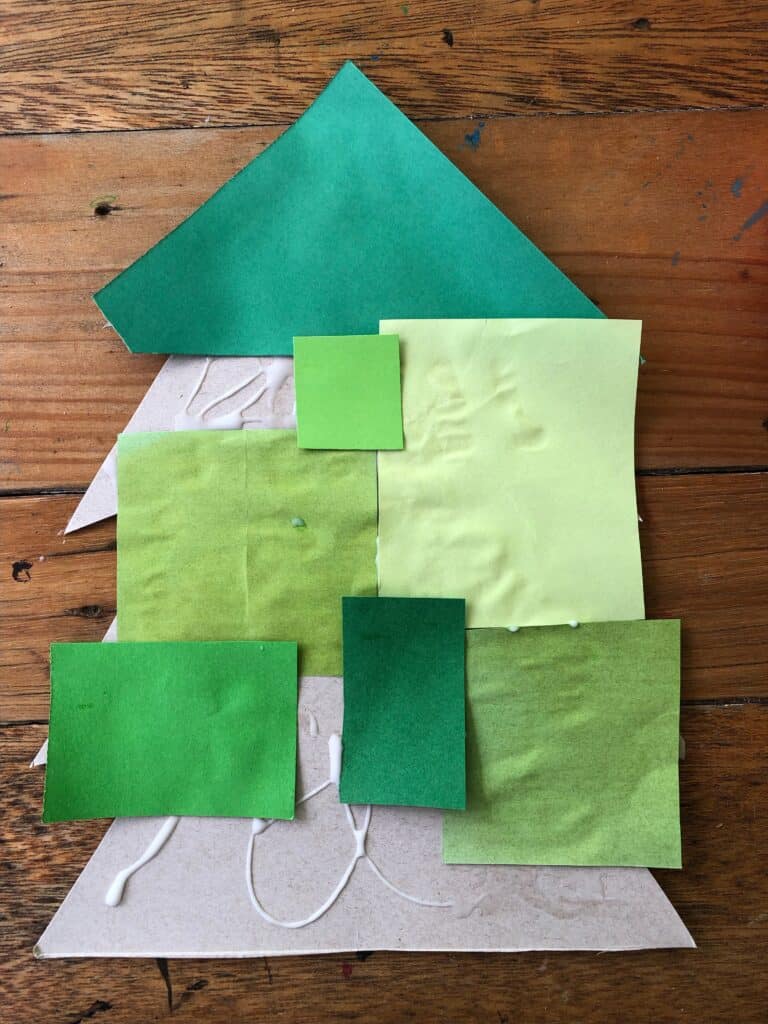
Here I have collected a range of collage materials including green paper and card offcuts,
wool, felt, green packaging, corrugated card, and have also created my own watercolour
painted paper to use. The idea is really to use what you’ve got and find that contrast of
textures. These trees would even work beautifully with a range of natural objects collected
from the backyard, or using paper that has been hand coloured with felt pens or coloured
pencils.
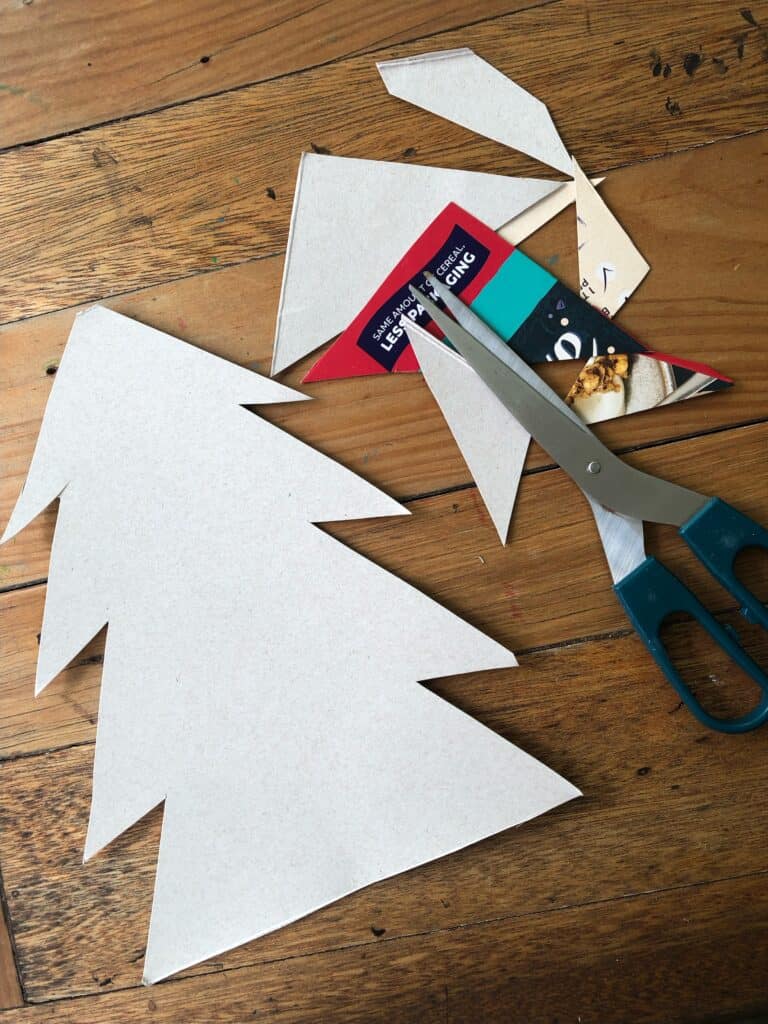
In addition to your texture collection, you will need a cardboard base- I’ve used an old
cereal box, PVA glue, scissors, hole punch and string.
Firstly cut out your Christmas tree using your cardboard base. If you’re working with little
people consider cutting a straight triangle rather than the tiered tree shape I have used in
this example. It may be easier for them to collage with straight sides.
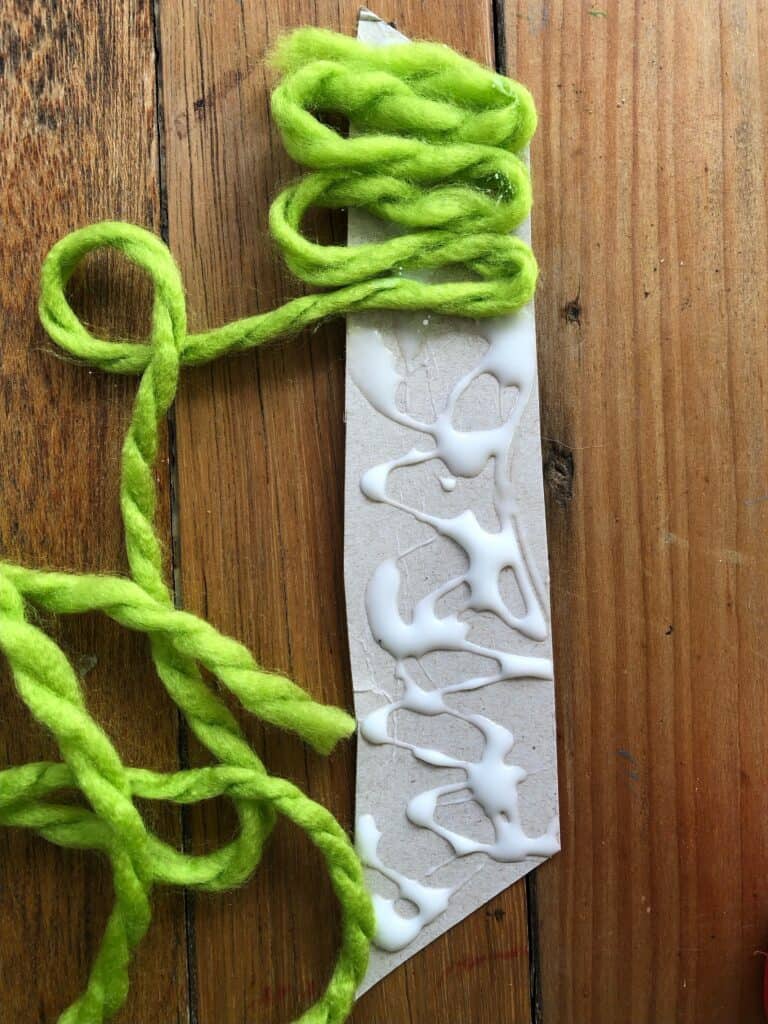
I wanted to create a wool fringe at the bottom of my tree, so to make this process easier, I
cut an extra strip from my cereal box, the same width as the bottom of the tree, covered it
with PVA, then looped the wool across the strip. If you are interested in creating this look,
do this step first so you can put it aside to allow drying time.

Next work with your paper or card. Cut your pieces into smaller shapes, cover your
Christmas tree with PVA and collage the shapes all over the tree. It’s ok if the paper/ card
are overhanging the edges of the tree. Treat it like a patchwork project and have fun placing
and layering your pieces!
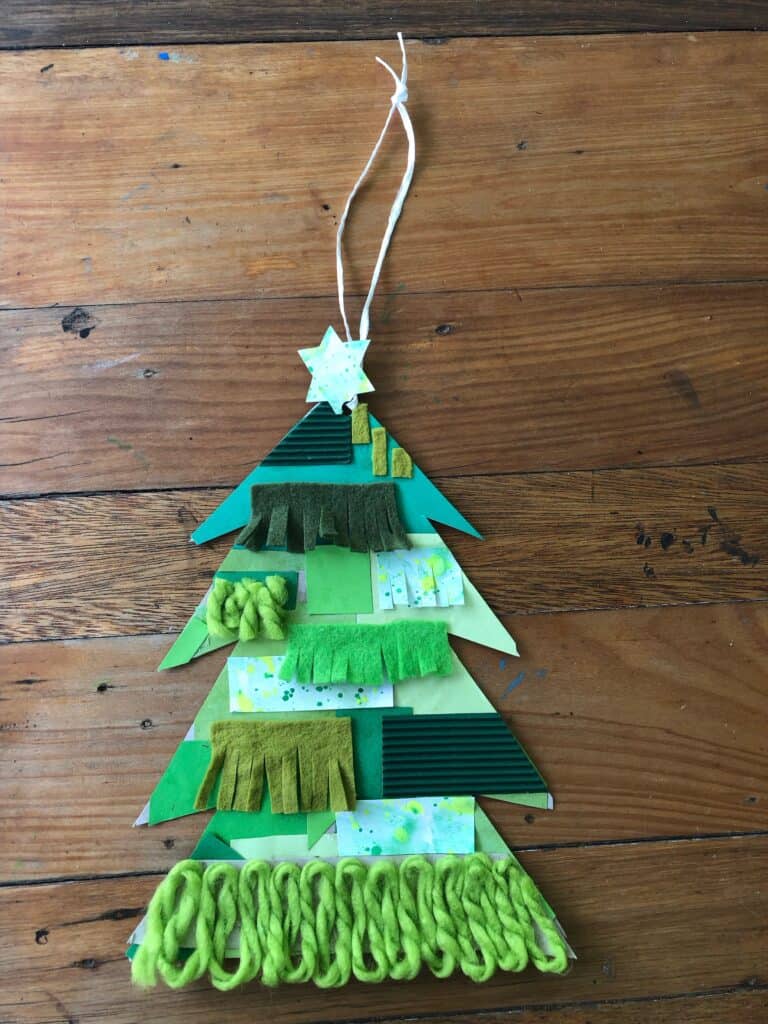
Turn your tree over and trim away any card or paper that is hanging over the edges to
neaten the silhouette.


Now for the texture! Choose some of your textured items and play around with fringing by
cutting strips and then making cuts across the entire length of the strip. I chose to fringe my
felt and some of my watercolour painted paper. In other areas I have simply cut shapes
without fringing to add further contrast of the different textures.
Once you have arranged your textured collage, use the PVA to glue all pieces in place.
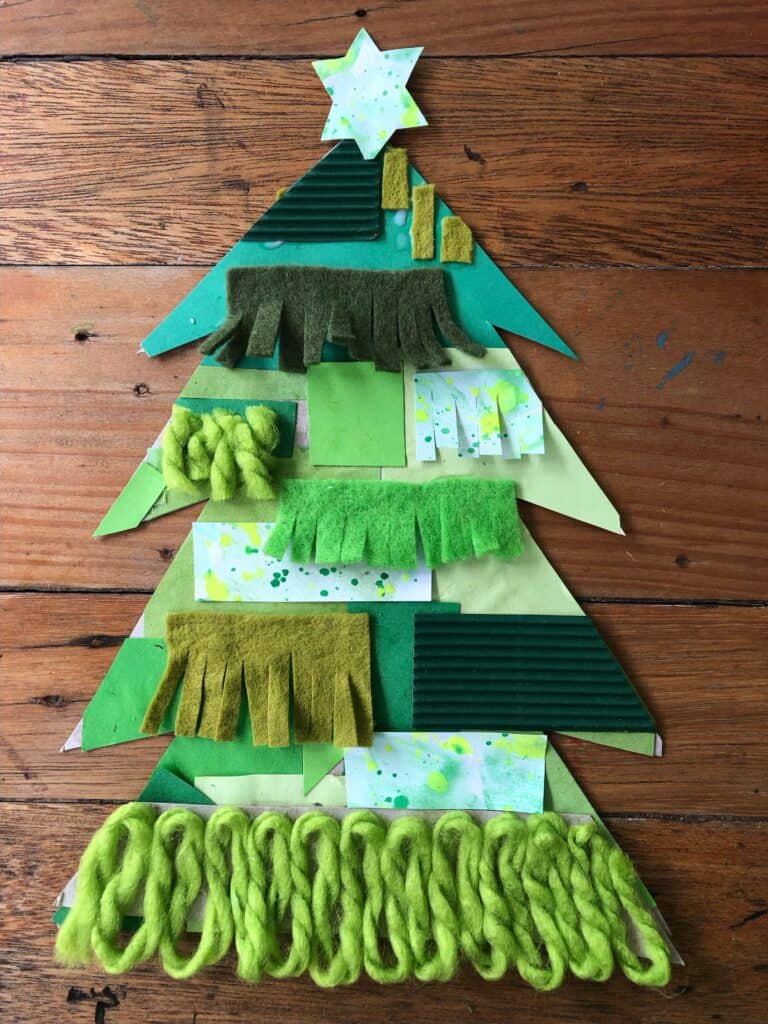
Choose a piece you would like to use for a star at the top of the tree, cut it out and glue in
place.
Allow a bit of drying time before hole punching the top of your tree and attaching a piece of string. Hang and enjoy your tactile creation!
Looking for other fun upcycling CHristmas projects??
Check out these Easy Christmas Baubles, or our Sticker Christmas Cards.
There are always cheap, low budget, creative upcycle projects you can do using things that are ready available. Time to get crafty!